Part 2: How to Create a Book App with React.js - A Step-by-Step Tutorial

In the first part of this tutorial, I showed you how to set up the project and get data from an API. To recap briefly, here's a link to the first part of the tutorial: How to Create a Book App with React.js - Step-by-Step Guide.
Creating a template (optional)
Once you have retrieved the data from the API.
i. The subsequent step is to either create a separate template or display the fetched data in the same file where it was obtained. By presenting the data, we can generate a graphical representation of the information that users can engage with.
I prefer using a separate component, as it improves the organization of the code and makes it more readable (😵💫). However, this approach is optional, and it's perfectly acceptable to render the data in the same component.
To create a separate template for exhibiting your data, follow these steps:
Create a new file named BookList.jsx.
In the Home.jsx file, import the BookList component at the top of the file.
Within the Home component, include the BookList component using the <BookList /> tag.
To pass the fetched data to the BookList component, include it as a prop.
Example
Home.jsx
import BookList from './BookList';

return(
    <div className='max-w-7xl mx-auto'>
        <BookList books={books} />
    </div>
)
By following these steps, you should have a separate template for displaying your data.
ii. Receive the prop passed from the parent component (Home.jsx) in the BookList.jsx file and use it to assess the information from the API. Here's an example:
BookList.jsx
const BookList = ({ books }) => {
    //{books}-prop received
    return (
        <div>

        </div>
    );
}

export default BookList
iii. Now that the prop has been received, different values can be displayed on a webpage. Use the map() method to retrieve information and iterate over each item from the API. This makes it easy to transform the data into the desired format and generate HTML elements that can be displayed on the webpage.
const BookList = ({ books }) => {
  return (
    <div className='book-list'>
      {books.map((book) => (
        <div>
          {/* Render the fetched data */}
        </div>
      ))}
    </div>
  );
}

export default BookList;
By using the map() method, you can create dynamic and responsive web pages that can be updated in real-time as the data changes.
This is particularly useful for displaying large sets of data, as it enables you to render each item in a specific format, such as a list or a grid.
This approach also enables us to create a reusable
BookList.jsxwhich can be used in other parts of our application to provide a clean and efficient way to display data to our users.
const BookList = ({ books }) => {
  return (
    <div>
      {books.map((book) => (
        <div key={book.id}>
          <div>
            <img
              src={book.volumeInfo.imageLinks.smallThumbnail}
              alt={book.volumeInfo.title}
              style={{ width: '100%', height: '250px' }}
            />
          </div>
          <div>
            <p className='font-bold text-center pt-5'>
              By: {book.volumeInfo.authors}
            </p>
          </div>
          <Link to={`/books/${book.id}`}>
            <div className='pt-8 flex justify-center items-center'>
              <button className='btn-readmore'>
                Click to get the book details
                <svg
                  aria-hidden='true'
                  className='w-4 h-4 ml-2 -mr-1'
                  fill='currentColor'
                  viewBox='0 0 20 20'
                  xmlns='http://www.w3.org/2000/svg'>
                  <path
                    fillRule='evenodd'
                    d='M10.293 3.293a1 1 0 011.414 0l6 6a1 1 0 010 1.414l-6 6a1 1 0 01-1.414-1.414L14.586 11H3a1 1 0 110-2h11.586l-4.293-4.293a1 1 0 010-1.414z'
                    clipRule='evenodd'
                  ></path>
                </svg>
              </button>
            </div>
          </Link>
        </div>
      ))}
    </div>
  );
}

export default BookList;
With this created, whenever a user types the name of a book in the input field on the webpage, the booklist is automatically updated with the latest data.
Ability to search the web app
i. After successfully retrieving and displaying the data on the browser using the fetch() method, the next step is to create a file named Input.jsx in the project's directory. This file should contain a form input field where the user can type the name of a book to search for.
Input.jsx
const Input = ({ searchBooks }) => {
  return (
    <div>
      <form onSubmit={handleSubmit}>
        <input
          type='text'
          placeholder='type here...'
          autoComplete='off'
          className='input'
          onChange={(e) => setSearch(e.target.value)}
        />
        <button type='submit' className='btn'>
          search
        </button>
      </form>
    </div>
  );
};

export default Input;
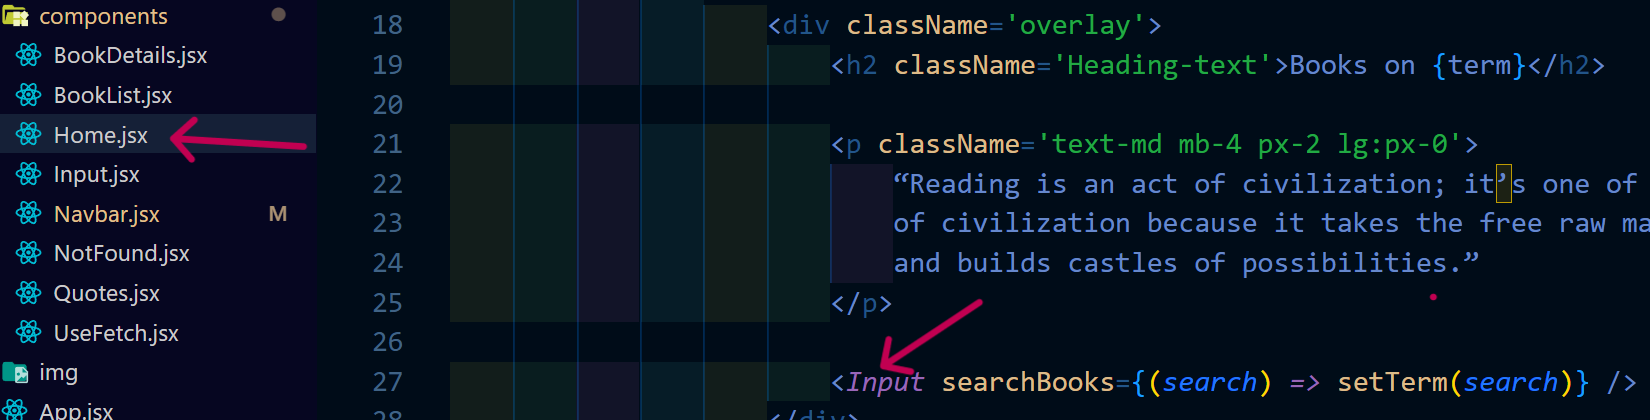
ii. Render theInput.jsx file in theHome.jsx component under the hero section, and import the Input.jsx at the top of the Home.jsx file using the appropriate syntax.
Then, within the Home components return the Input file under the appropriate section of the page, and pass a prop called searchBooks. This prop will be received by the Input.jsx file and used to implement the search functionality.
To enable the search functionality
In the
Input.jsxfile, define a state variable calledsearchusing theuseStatehook.Add an
onChangeattribute to the input field. This attribute allows the application to detect when the user changes the value of the input element, and it triggers a JavaScript function in response to the change.
onChange is commonly used in web development to make pages more interactive and responsive to user input. It can be used to validate user input, update a webpage in real-time, or trigger other actions as needed.
import { useState } from 'react';

const Input = ({ searchBooks }) => {
    const [search, setSearch] = useState('');


    return (
        <div>
            <form onSubmit={handleSubmit}>
                <input
                    type='text'
                    placeholder='type here...'
                    autoComplete='off'
                    className='input'
                    onChange={(e) => setSearch(e.target.value)}
                />
                <button type='submit' className='btn '>
                    search
                </button>
            </form>
        </div>
    );
};

export default Input;
iii. To avoid the constant refreshing of the page when the user submits the form, we can use the preventDefault() This method is called in a function that is defined as the event handler for the onSubmit event.
PreventDefault() is a built-in method in JavaScript that prevents the default action of an event from occurring. For example, when a user submits a form, the default action is for the form to be submitted and the page to be reloaded. By calling, we can stop this default action from occurring and handle the form submission ourselves using JavaScript.

Getting the id of a particular Item- book (optional)
Besides being able to fetch a list of books through an API, it's possible to obtain the "id" of a specific book in addition to retrieving a list of books through an API.
To achieve this, the useParams() is utilized to extract the assigned "id" of the book within the application. Then, the "id" can be defined and stored using the same "useParams()" hook.
To obtain the book id, the following steps were performed:
Created a new component named BookDetail.jsx.
Imported the useParam() from the 'react-router-dom' library.
Imported the useEffect() and **useState()**hooks from 'react'.
Defined the useState() to store the initial value and update the state of the application.
import React, { useEffect, useState } from 'react';
import { useParams } from 'react-router-dom';
import Navbar from './Navbar';

const BookDetails = () => {
  const [books, setBooks] = useState([]);
  const { id } = useParams();

  useEffect(() => {
    fetch(`https://www.googleapis.com/books/v1/volumes?q=${id}&key=${import.meta.env.VITE_SOME_VALUE}`)
      .then((res) => {
        return res.json();
      })
      .then((data) => {
        setBooks(data.items);
        console.log(data.items);
      });
  }, []);

  return (
    <>
      <Navbar />
      <div className='bookdetail'>
        {books.map((book) => (
          <div key={book.id} className='bookdetail-container'>
            <div>
              <img
                src={book.volumeInfo.imageLinks.smallThumbnail}
                alt={book.volumeInfo.title}
                style={{ width: '500px', height: '250px', padding: '20px' }}
              />
            </div>
            <div className='ml-8 leading-loose'>
              <h5 className='bookdetail-title'>
                Title: {book.volumeInfo.title}
              </h5>
              <p className='font-bold'>
                Subtitle: {book.volumeInfo.subtitle}
              </p>
              <p className='font-bold'>
                Written By: {book.volumeInfo.authors}
              </p>
              <p className='mb-3 font-bold'>
                Book published on:
                {book.volumeInfo.publishedDate}
              </p>
              <p className='pt-2 leading-relaxed'>
                <span>{book.volumeInfo.description}</span>
              </p>
              <a href={book.volumeInfo.infoLink} target='_blank'>
                <button className='btn-bookdetail'>
                  Read More About The Book
                </button>
              </a>
            </div>
          </div>
        ))}
      </div>
    </>
  );
};

export default BookDetails;
When you need to retrieve specific data, it's important to include the "id" within the URL or append it to the end of the URL. This helps the API identify the exact information you need and respond with the appropriate data.
fetch(`https://www.googleapis.com/books/v1/volumes?q=${id}&key=${import.meta.env.VITE_SOME_VALUE}`)
App.jsx
For the specific id to show in theapp.jsx file, the route is indicated using a colon (:). This specifies a particular URL request.
import React from 'react'
import Home from './components/Home'
import{Routes,Route} from 'react-router-dom'
import BookDetails from './components/BookDetails';

const App = () => {
  return (
        <div>
            <Routes>
                <Route path='/' element={<Home />}></Route>
                <Route path='Books/:id' element={<BookDetails />}></Route>
            </Routes>
        </div>
    );
}

export default App
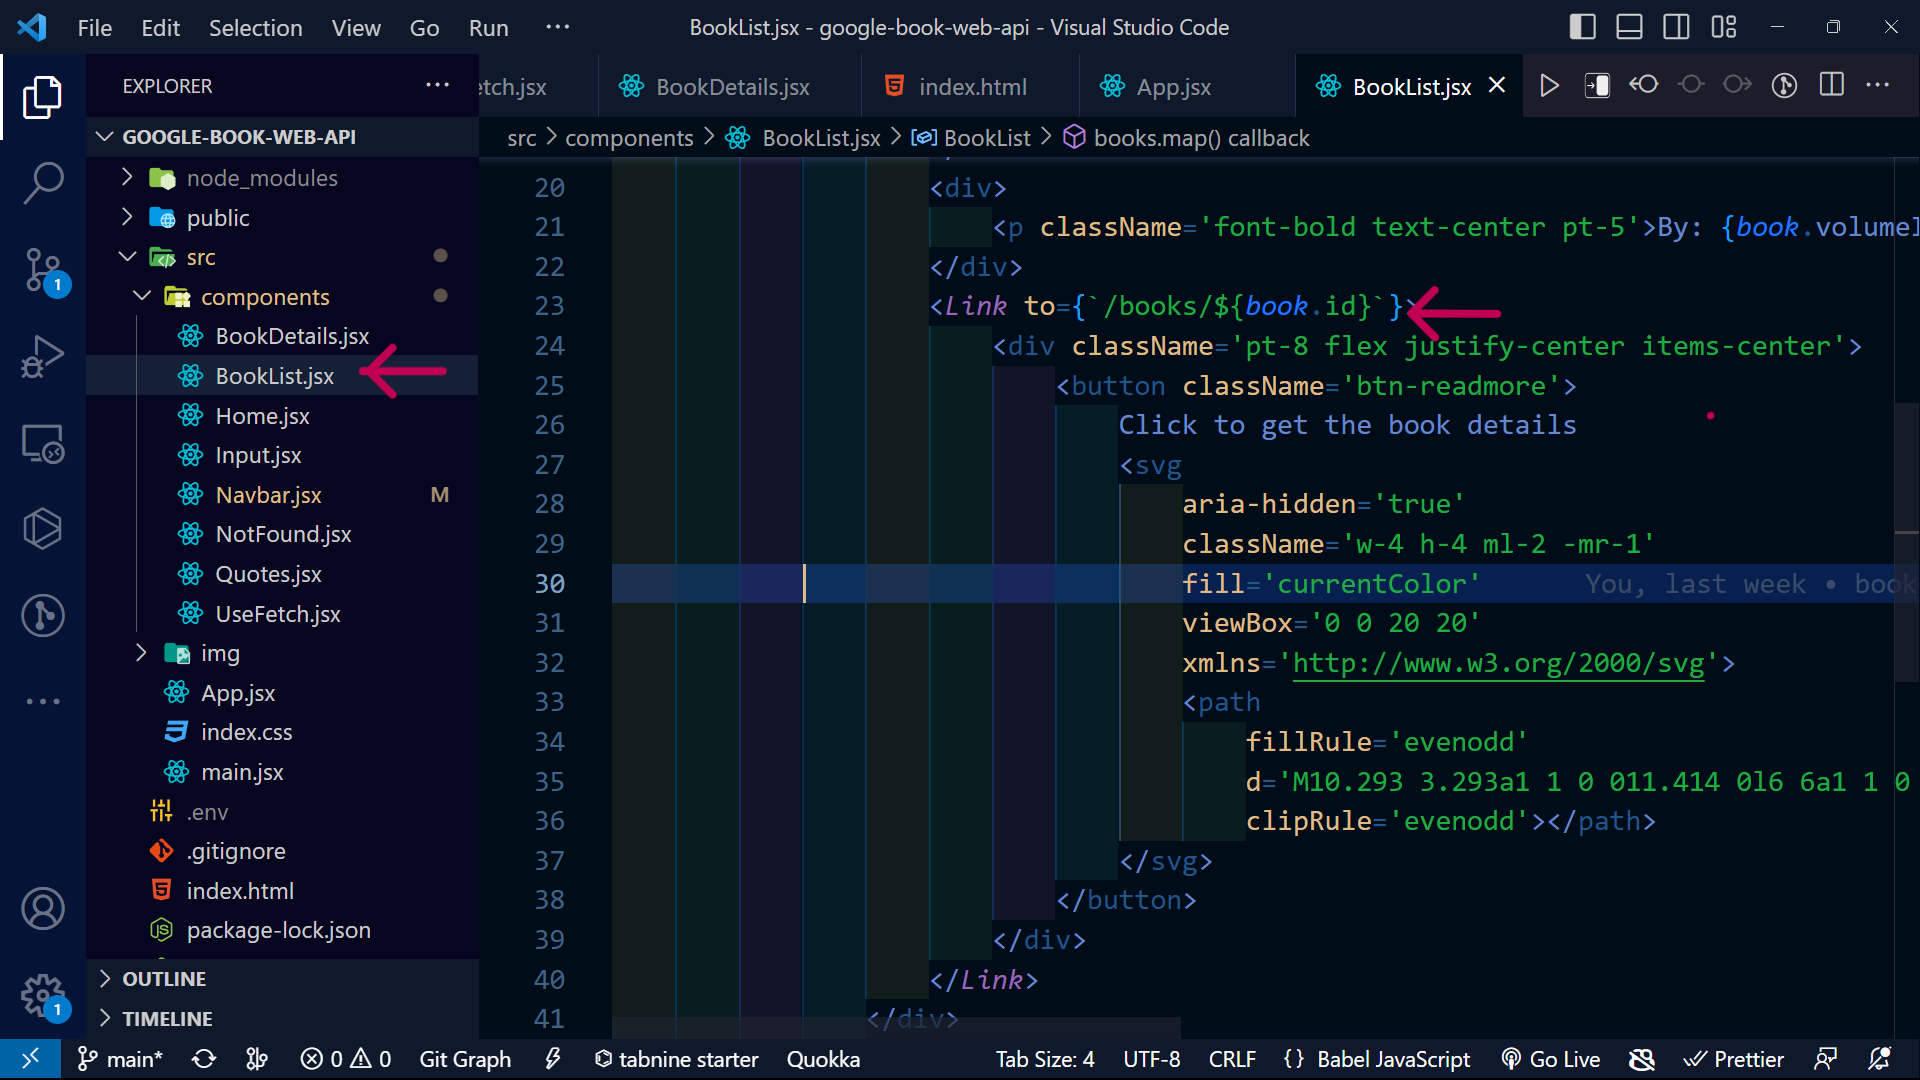
To access BookDetail.jsx from theBookList.jsx, a linkage needs to be created between them. In this project, I have established a connection between the two components using a button.
Creating a notFound (404)
In most web applications, when a user tries to navigate to a URL that does not exist, a "not found" page is displayed to let the user know that the requested resource cannot be found. This feature was added to the project.
Here are the steps to add the "not found" feature to your web application:
Create a new file named "NotFound". This file will be displayed when a user navigates to a non-existent page.
In the NotFound file, add a link that allows the user to go back to the previous page. You can use HTML code to create this link.
Save the changes made to the NotFound file.
Import the NotFound file into the main code of your project.
When a user navigates to a non-existent page, the NotFound file will be displayed along with a link to take the user back to the previous page.
import React from 'react';
import notfound from '../img/undraw_page_not_found_re_e9o6.svg';
import { Link } from 'react-router-dom';

const Notfound = () => {
    return (
        <div className='flex flex-col justify-center items-center'>
            <img src={notfound} alt='not found/>
            <p className='lg:text-3xl text-white'>
                Go back to <Link to='/'>Homepage</Link>
            </p>
        </div>
    );
};

export default Notfound;
App.jsx
In the App.jsx file, the feature to display the NotFound file when a non-existent URL is accessed is implemented by using an asterisk (*) to match any URL that does not have a specific route defined. The NotFound file is imported and defined at the bottom of the route configuration, which ensures that it only matches URLs that are not defined by the other routes.

Conclusion
To summarize, the tutorial guided populating a webpage dynamically by fetching data from an API and rendering it using React. Additionally, the tutorial demonstrated how to retrieve a single item from the API.
The next tutorial will conclude this series.
You can find the source code in my repository.
Resource
Looking for an article on APIs to use in your projects? You may find it helpful to read through the following article:
This resource provides a range of APIs that are available for developers to use.
Thank you for reading 💖


