Integration of FabForm into our website

Forms are the primary point of interaction between the user and the website. It is an important aspect of a website that collects data from users. We use forms to log in and sign up, buy things or make payments, add content, or leave reviews on websites.
The main purpose of the form is to allow the user to submit specific information to the website. As a beginner in software development, it is critical to understand how to create a form, even if it is only with HTML. FabForm makes a static website form feels dynamic.
This article will discuss how FabForm can be integrated into the website.
Prerequisites
To follow along with this article:
It is advisable to have an understanding of HTML at least.
Download any IDE of choice. I prefer Visual Studio Code
What is FabForm?
FabForm is a tool that lets you create an endpoint that handles form submissions. All you have to do is create the endpoint and click submit. FabForm will handle the rest. Consider the following scenario: you want to include a contact form in your portfolio but do not know any backend programming languages. FabForm will take care of it.
One advantage of FabForm is the ability to send data directly to third-party services such as email, Google Sheets, and website builders such as Wix. It is recommended for front-end developers.
Getting started
The first thing we'll do is visit the site FabForm
Create an account with them
After you have done that, you log in to their website.
Next click on this button
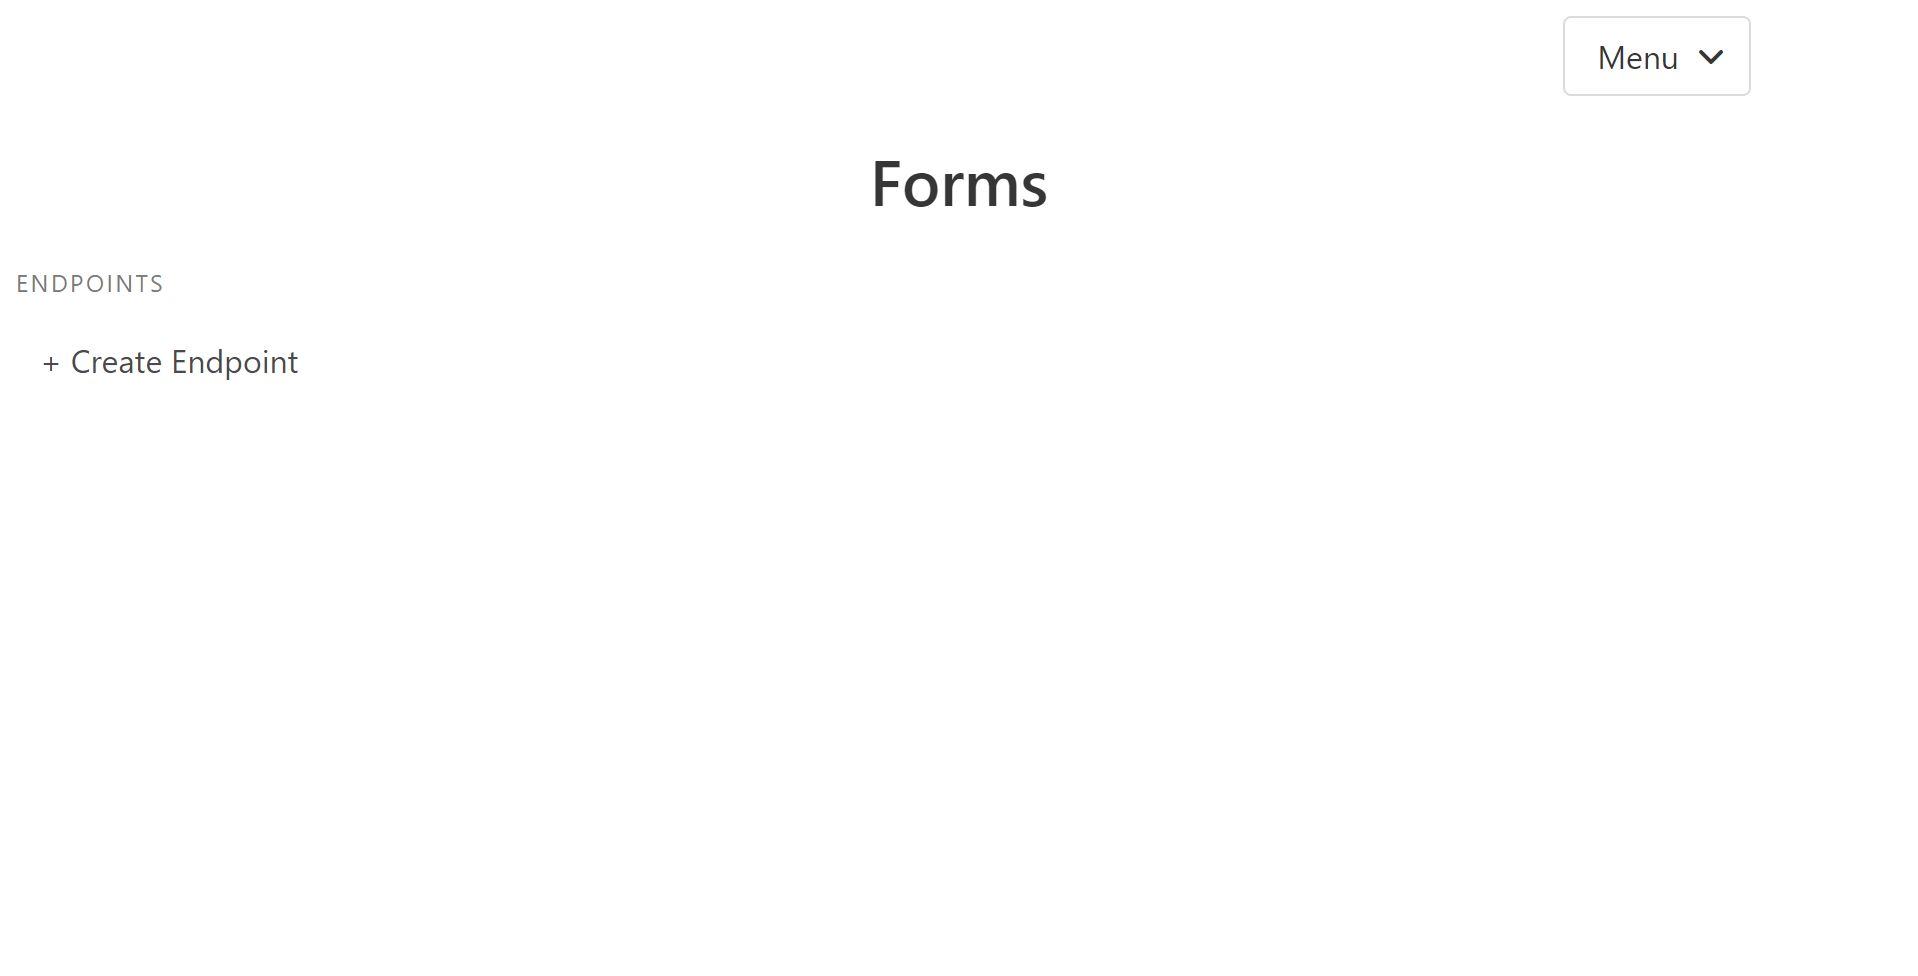
This takes you to a page where you create an endpoint that will be used for the submission of your form.
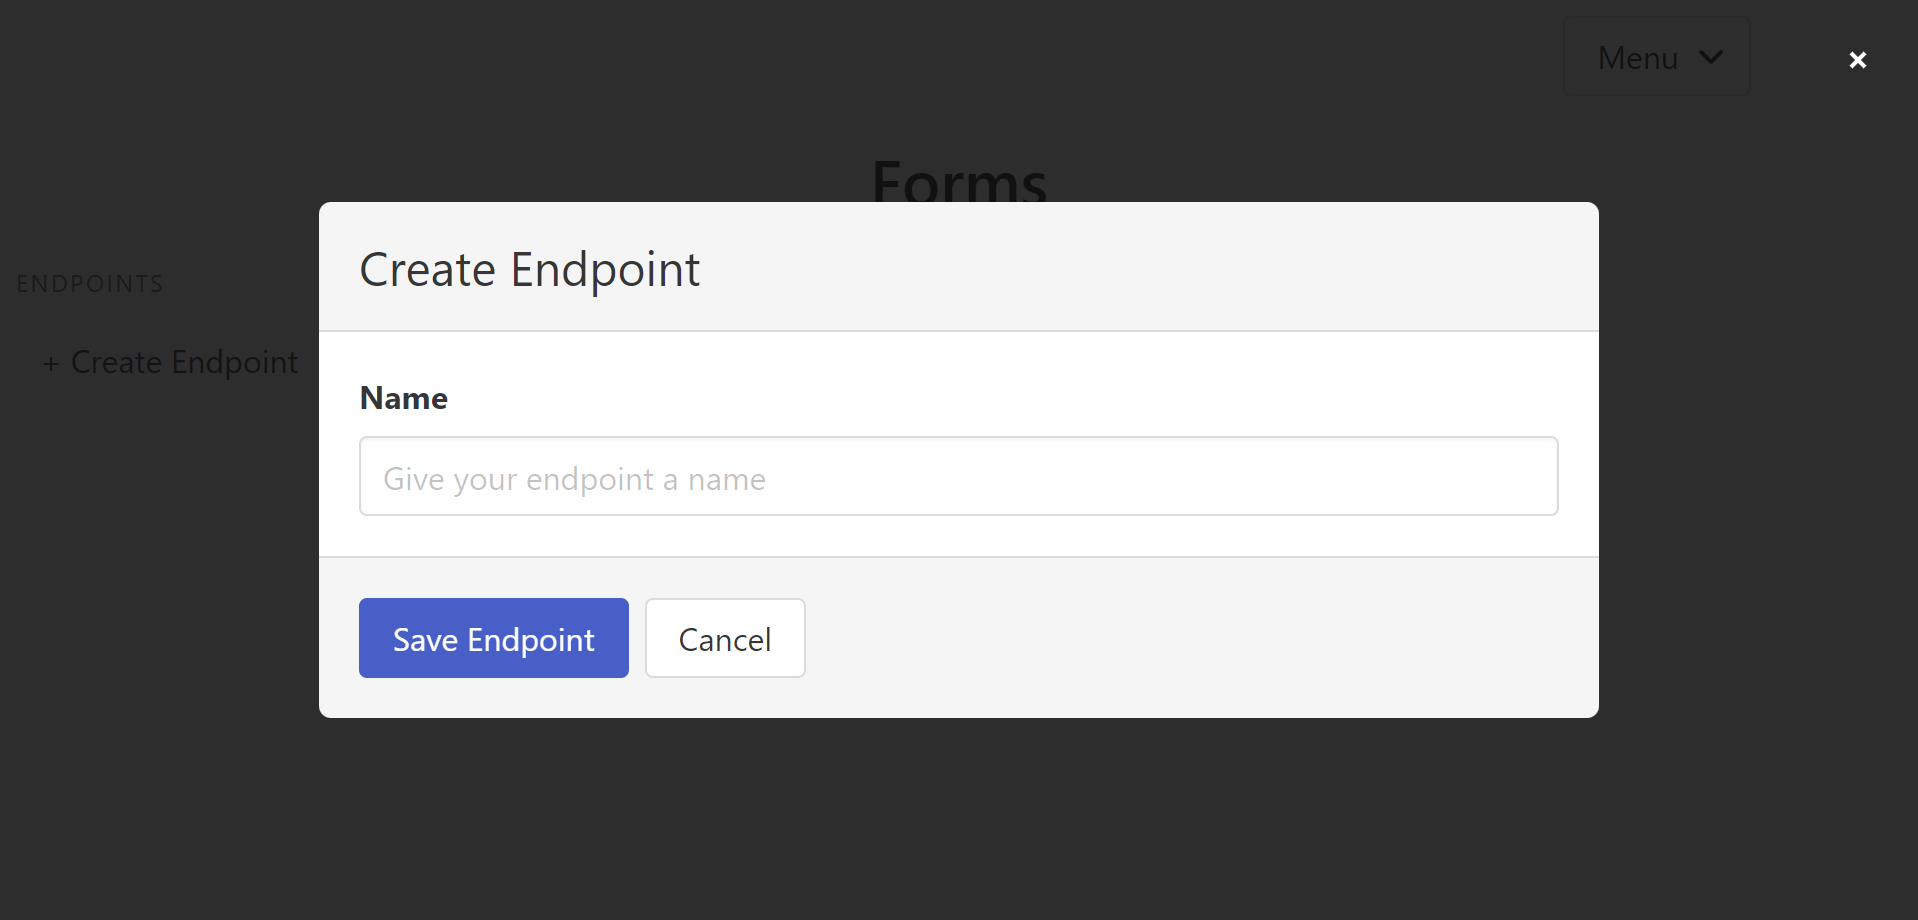
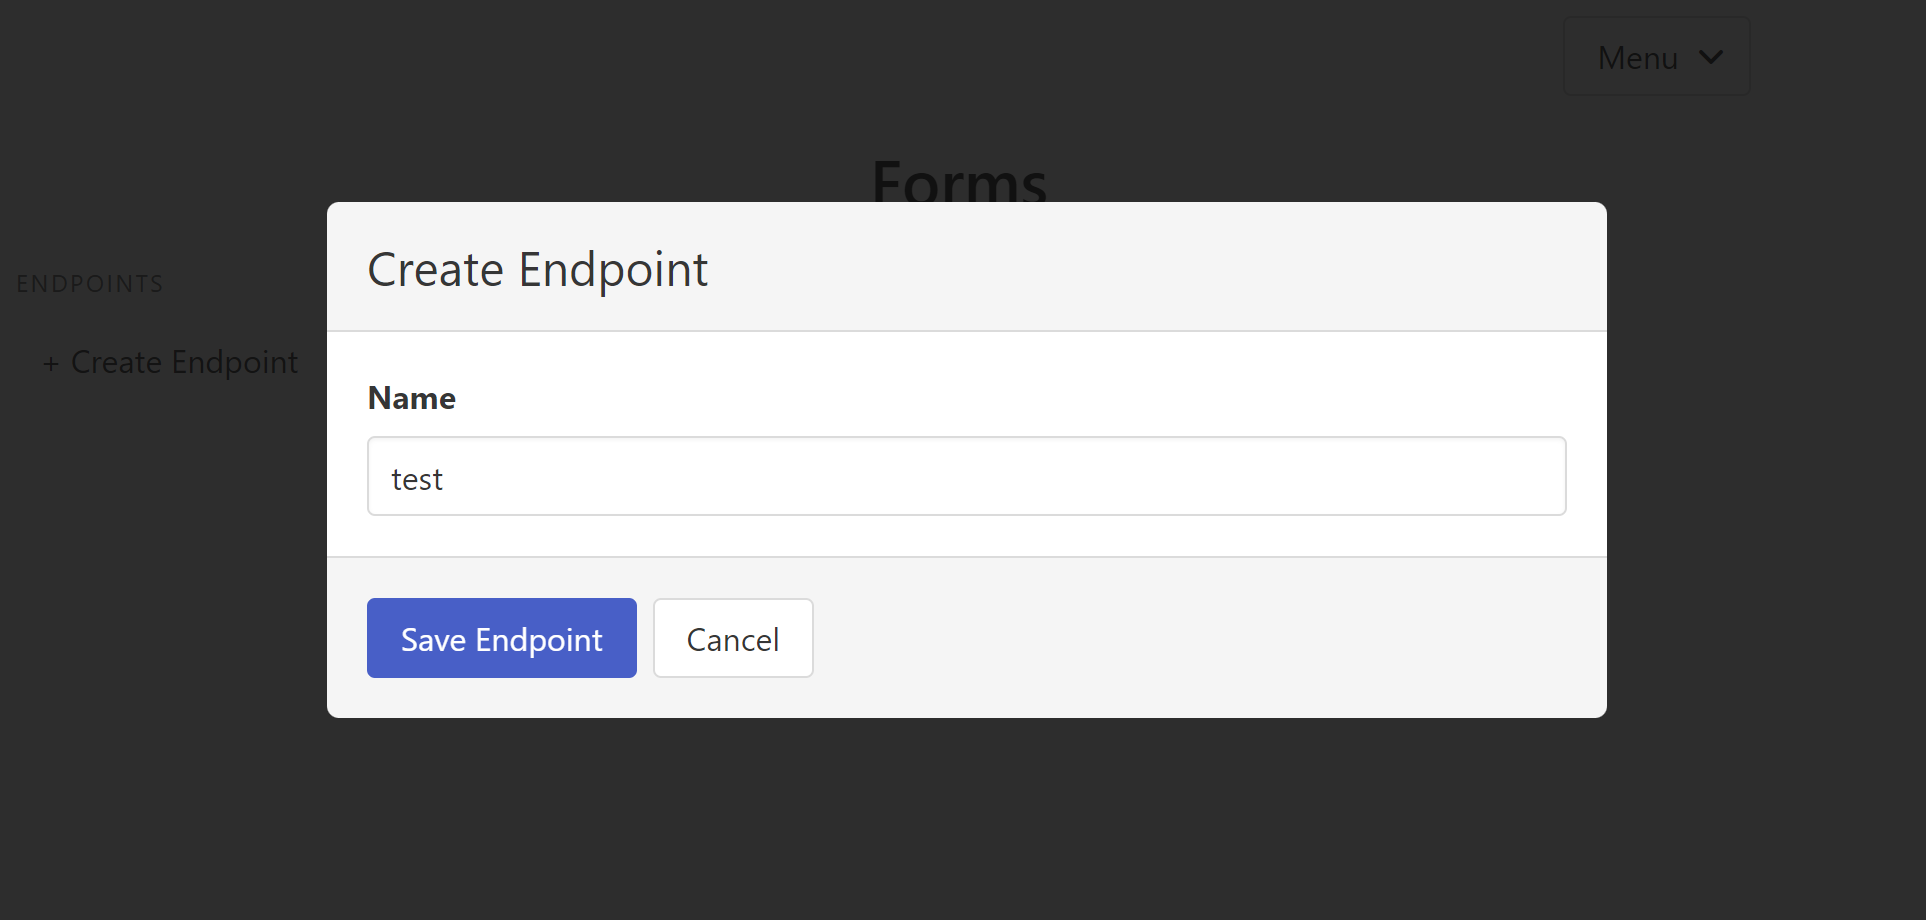
- A modal comes up when you click on "create endpoint". Fill in the details, and save your endpoint.
How do we integrate our created form with the endpoint?
A form tag typically includes an action attribute and a request method; In the action, the attribute is where the URL is located and the endpoint is kept. The form method is Post This is because we are posting to the server of FabForm.
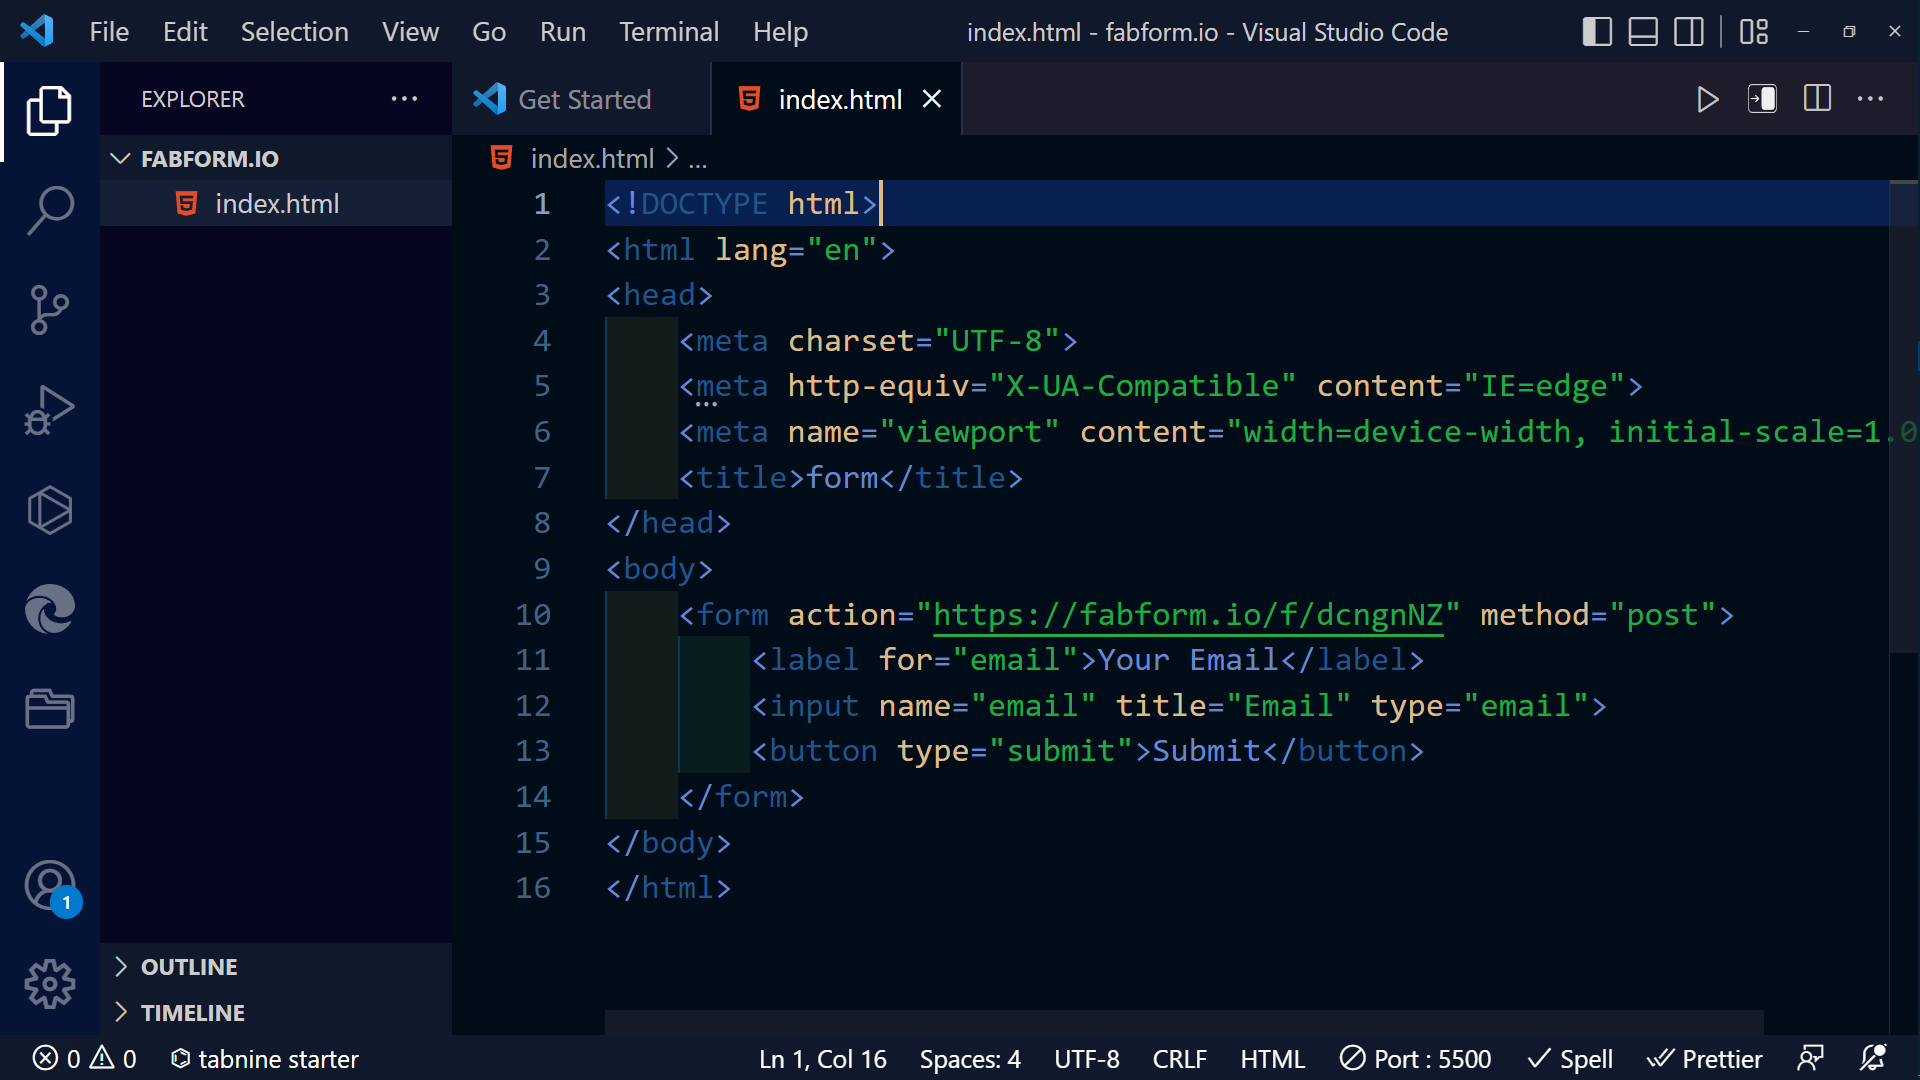
As a developer, your job is to create the form and use the data while FabForm handles the backend logic. Messages containing the data a user enters will be sent to your email.


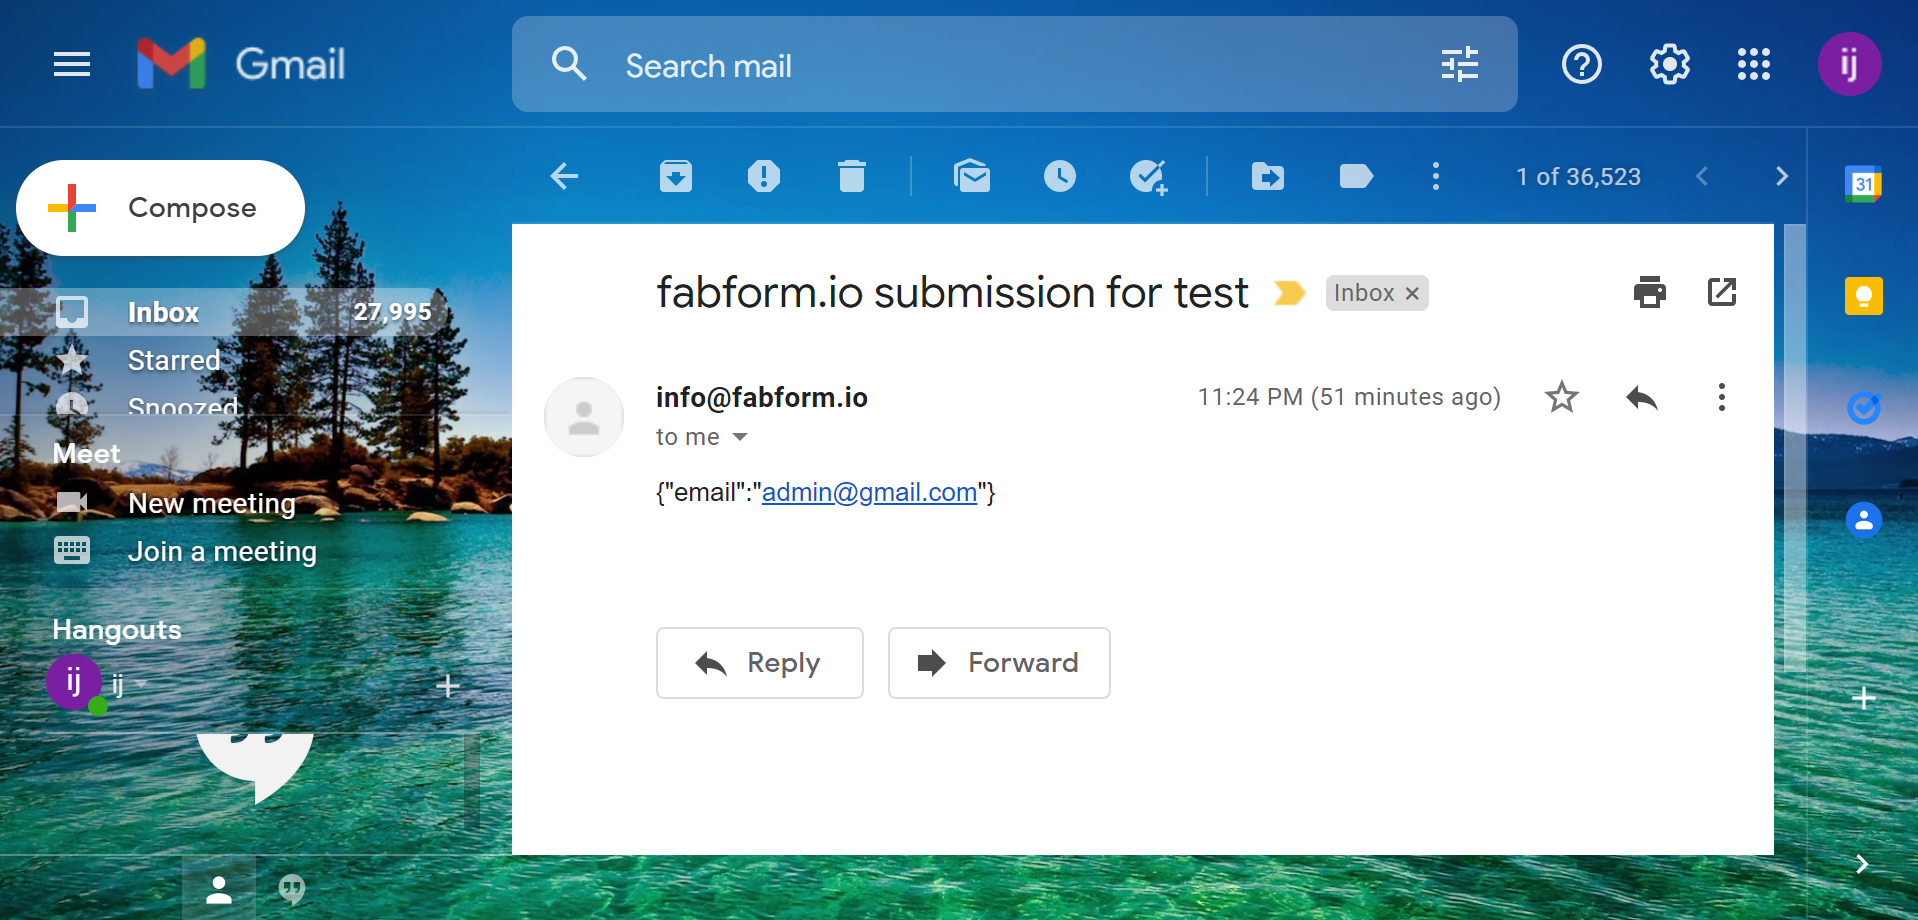
When you click the submit button in the second image above, FabForm sends the details from the form to your email or the dashboard or links to a Google sheet where specified.
Details filled in the form sent to the dashboard or email if you specify

How to link the endpoints to your email
- When the endpoint and your form are created, you see a dropdown menu on the right-hand side of the created endpoint page. Click on "Forms**
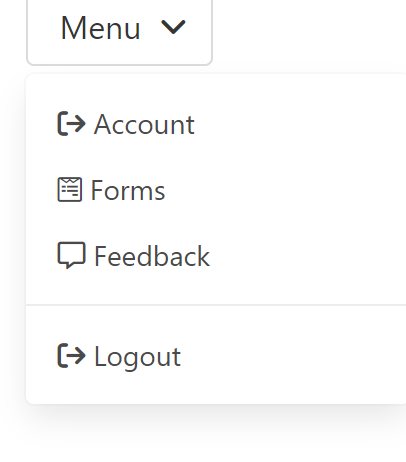 This reveals the endpoint created.
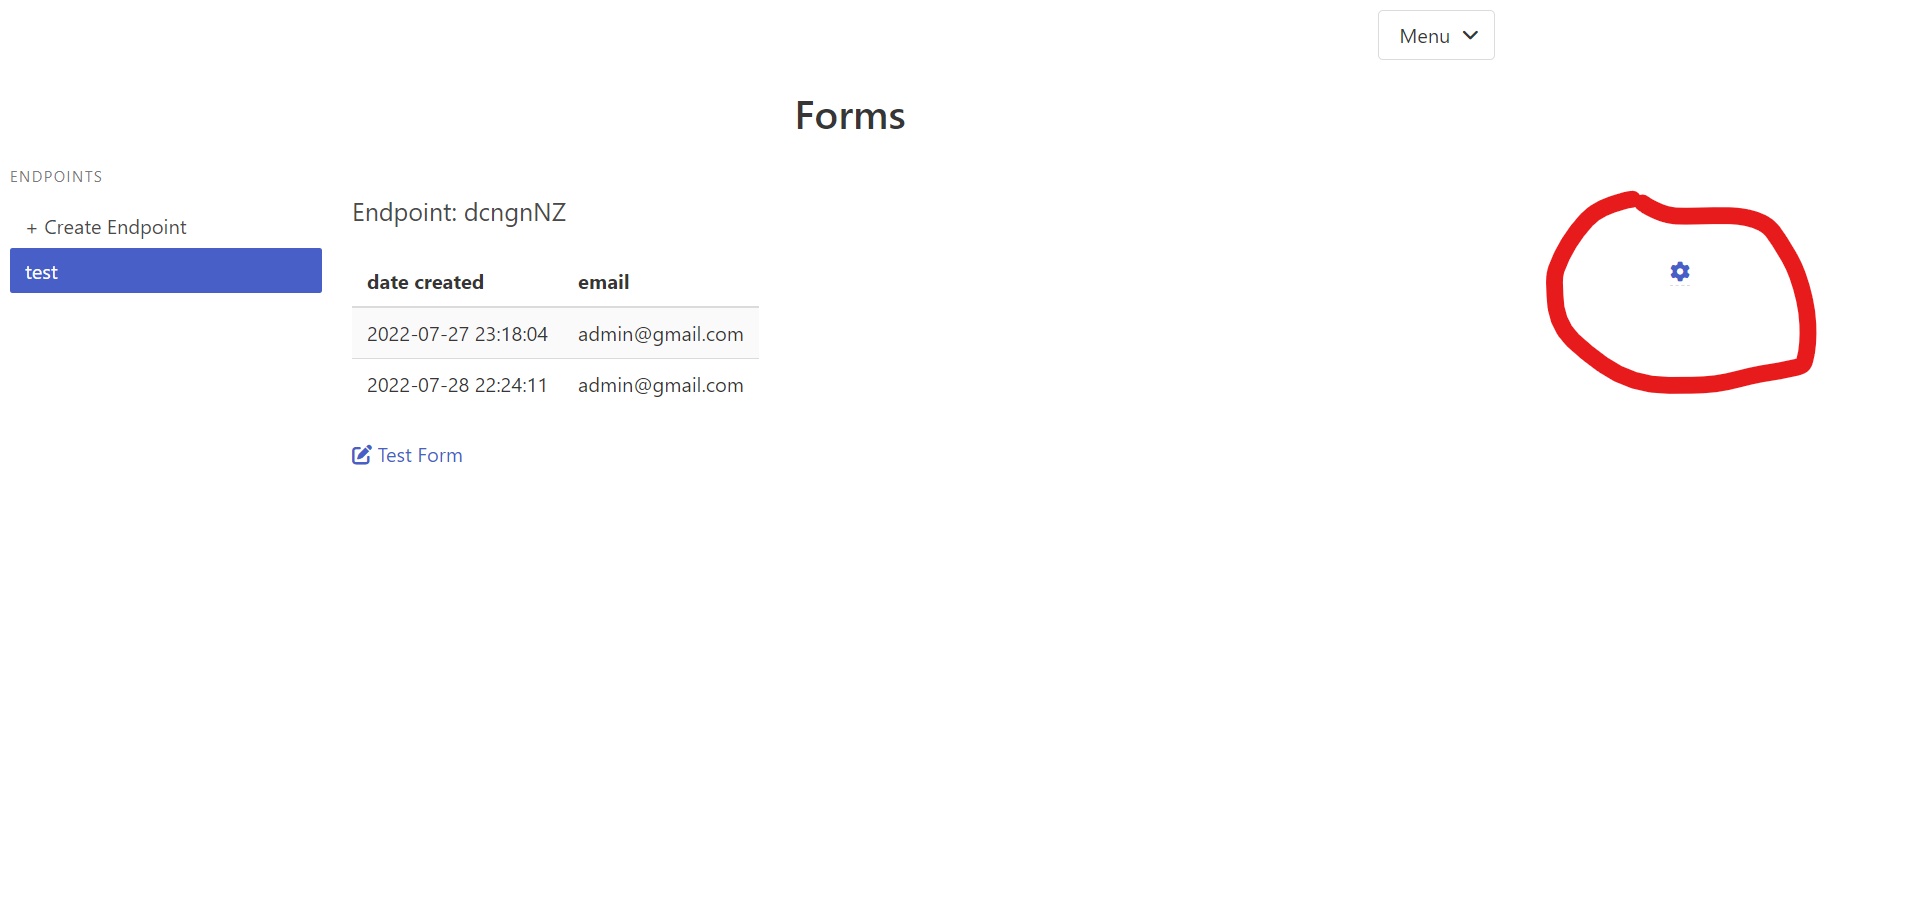
- Click on settings on the endpoint page.
- This will take you to the settings page where you can set your email address or Google sheet address as the place you want to receive the data.
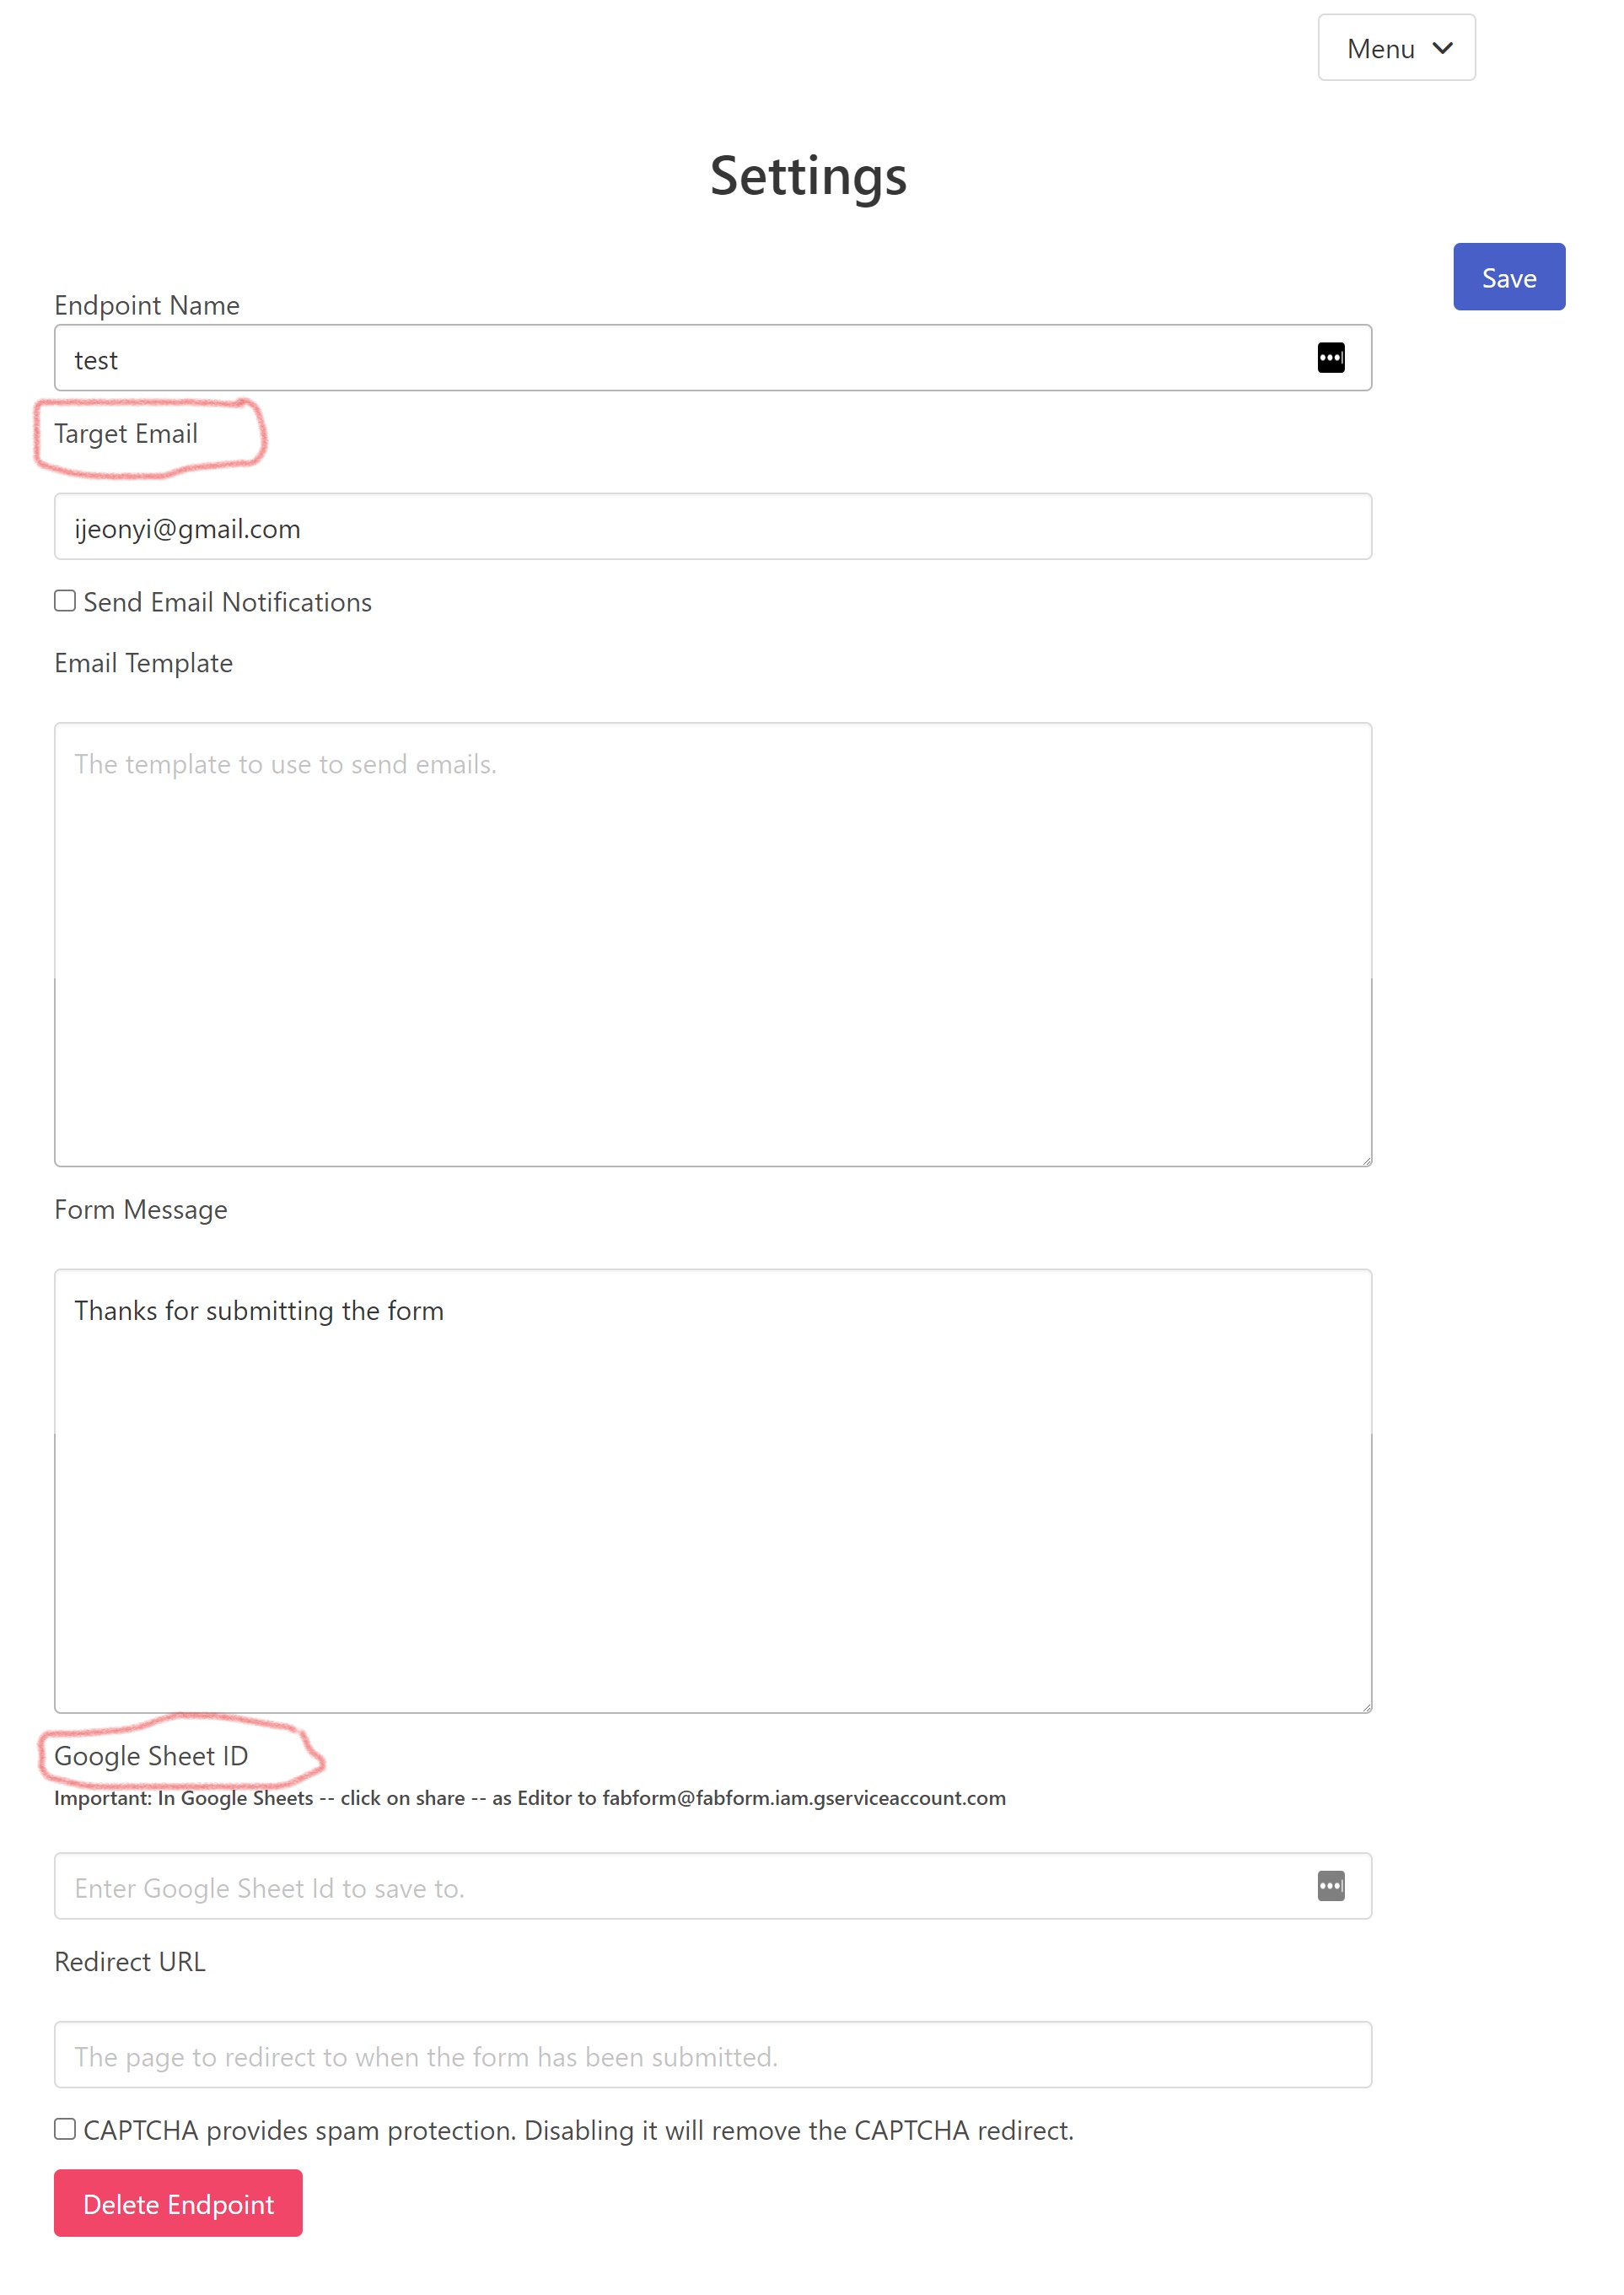
Save after specifying where you want the data to go.
A message from FabForm with your data will be sent to your email.
Conclusion
In this article, we introduced FabForm, and looked at how you can set up a working form on your site using FabForm's API endpoint. To learn more about this tool, visit the site FabForm.


