How to Create a Stunning Menu for Your Webpage with React

A web page's menu is a crucial element that enables seamless navigation, empowering users to explore the site and access desired information. Not only do menus aid customers in deciding what to order, but they also play a vital role in enhancing the experience of the webpage. Whether presented on paper or in a digital format, a menu showcases different categories on a webpage, each item listed by its name, price, and a concise description of the item. As an example, consider the menu of a restaurant.
This menu varies according to the types of dishes offered. Some menus focus on a particular type of cuisine, such as Italian, Chinese, or Nigerian, while others offer a more diverse selection of dishes from different cuisines.
In this tutorial, you will learn how to use React.js to create a menu list.
By covering the essential steps for setting up your project or local environment.
Next, we will learn how to iterate over an array of menu items and display them as a list using the
<ul>and<li>tags.To style our project, we will use Tailwind CSS.
By the end of this tutorial, you will understand how to use React.js to create a stunning and functional menu for your web pages. You will gain the skills to develop such a project on your own, creating stunning menus that enhance both the aesthetics and functionality of your website.
Prerequisite
Have a basic understanding of React.js or any comparable frameworks like Angular, Svelte, or Vue.
Make sure to configure node.js on your system.
Let's Get Started🚀
Setting up the local environment
To create a folder in the location you want, follow these steps:
Open your system.
Right-click on the screen.
From the options, choose "New" or "New Folder."
A new folder will appear with a name you can change.
Type in a name for the folder and press Enter or click away.
Now you have a folder in the location you chose, ready for you to use and organize your files.
Inside the directory of our project
- Use this command to create a react boilerplate
npx create-react-app or npx create-vite@latest
I prefer vite because using Vite to create a React boilerplate is fast and easy, although Create React-App is also a good option. The reason for my preference is that Vite is not only faster for development, but also easier to configure. Additionally, Vite is more versatile than Create React App, supporting other front-end frameworks such as Svelte.
if you look at the gif above I used a period(.) because am in the right directory and I want to create the boilerplate inside that directory
- In your terminal, install Tailwind CSS for styling your project.
To install TailwindCSS, go to their documentation and follow the guidelines of your chosen framework.
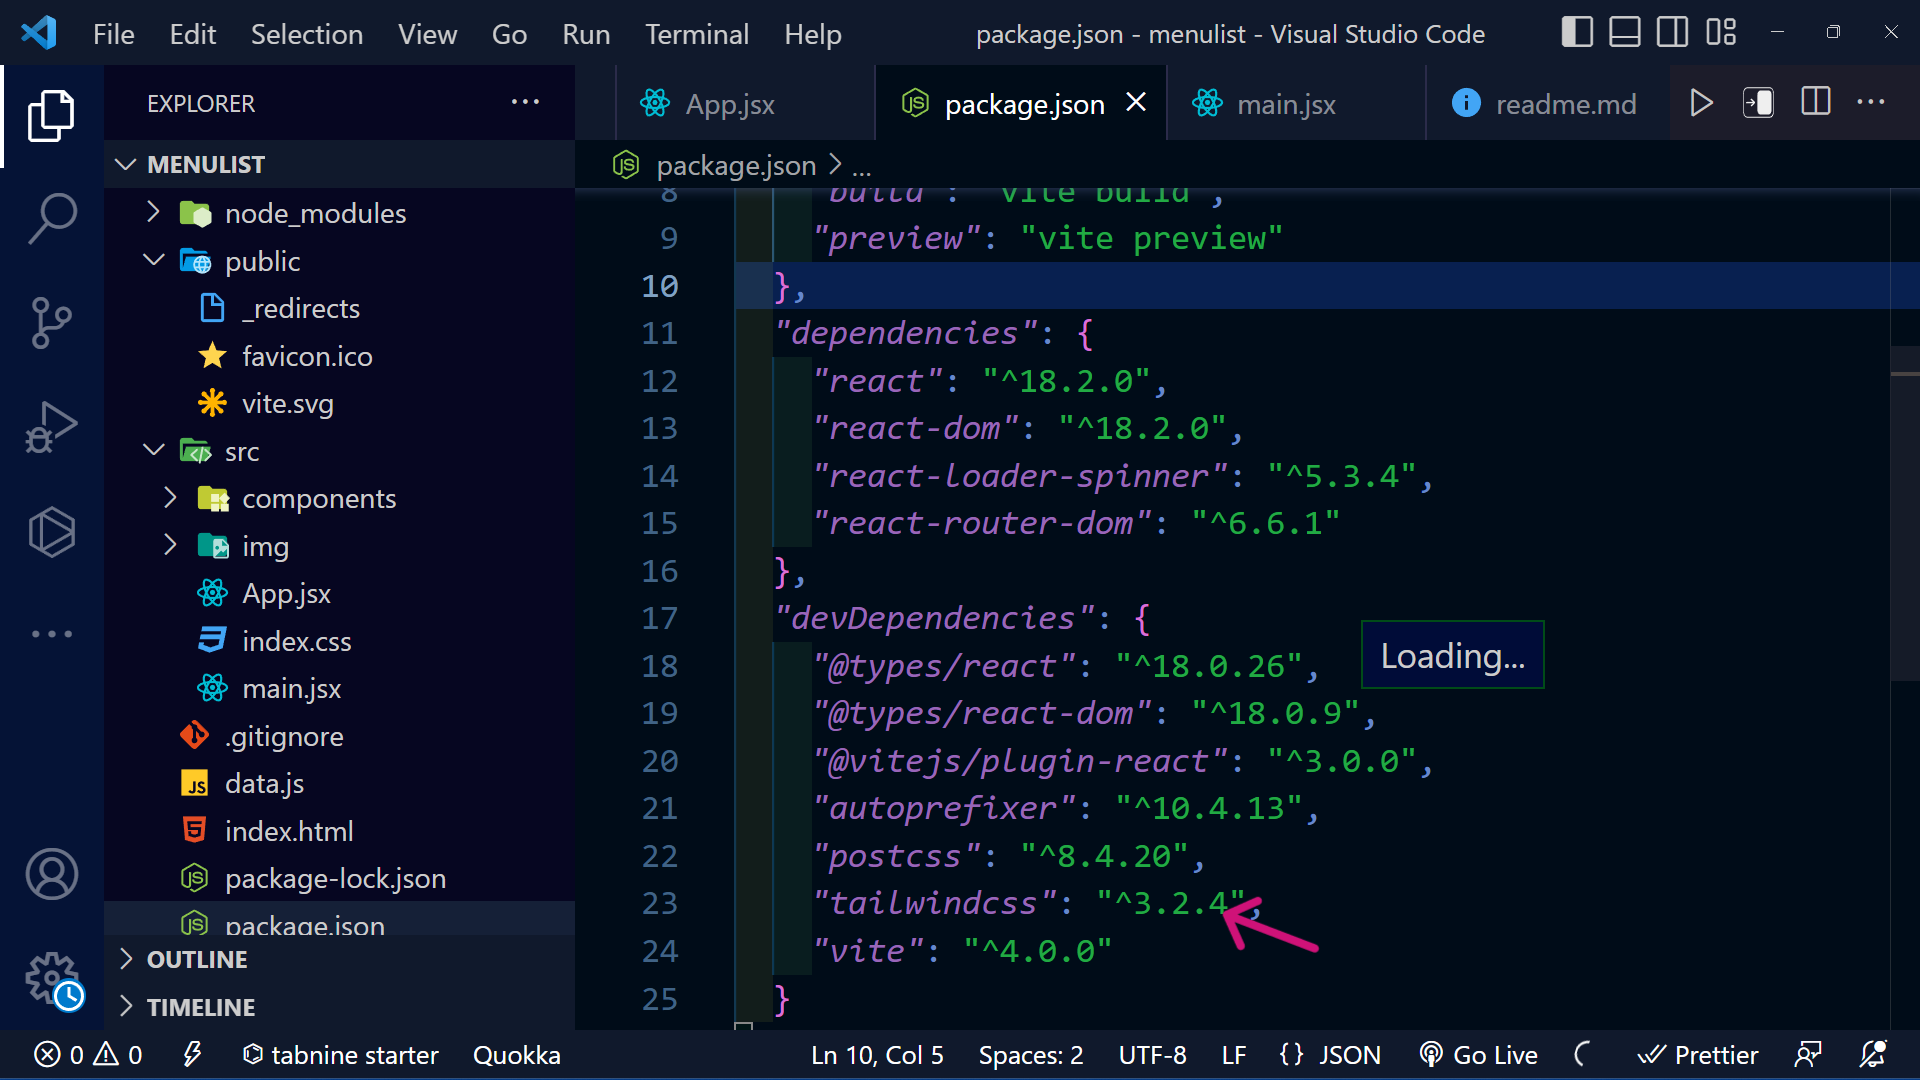
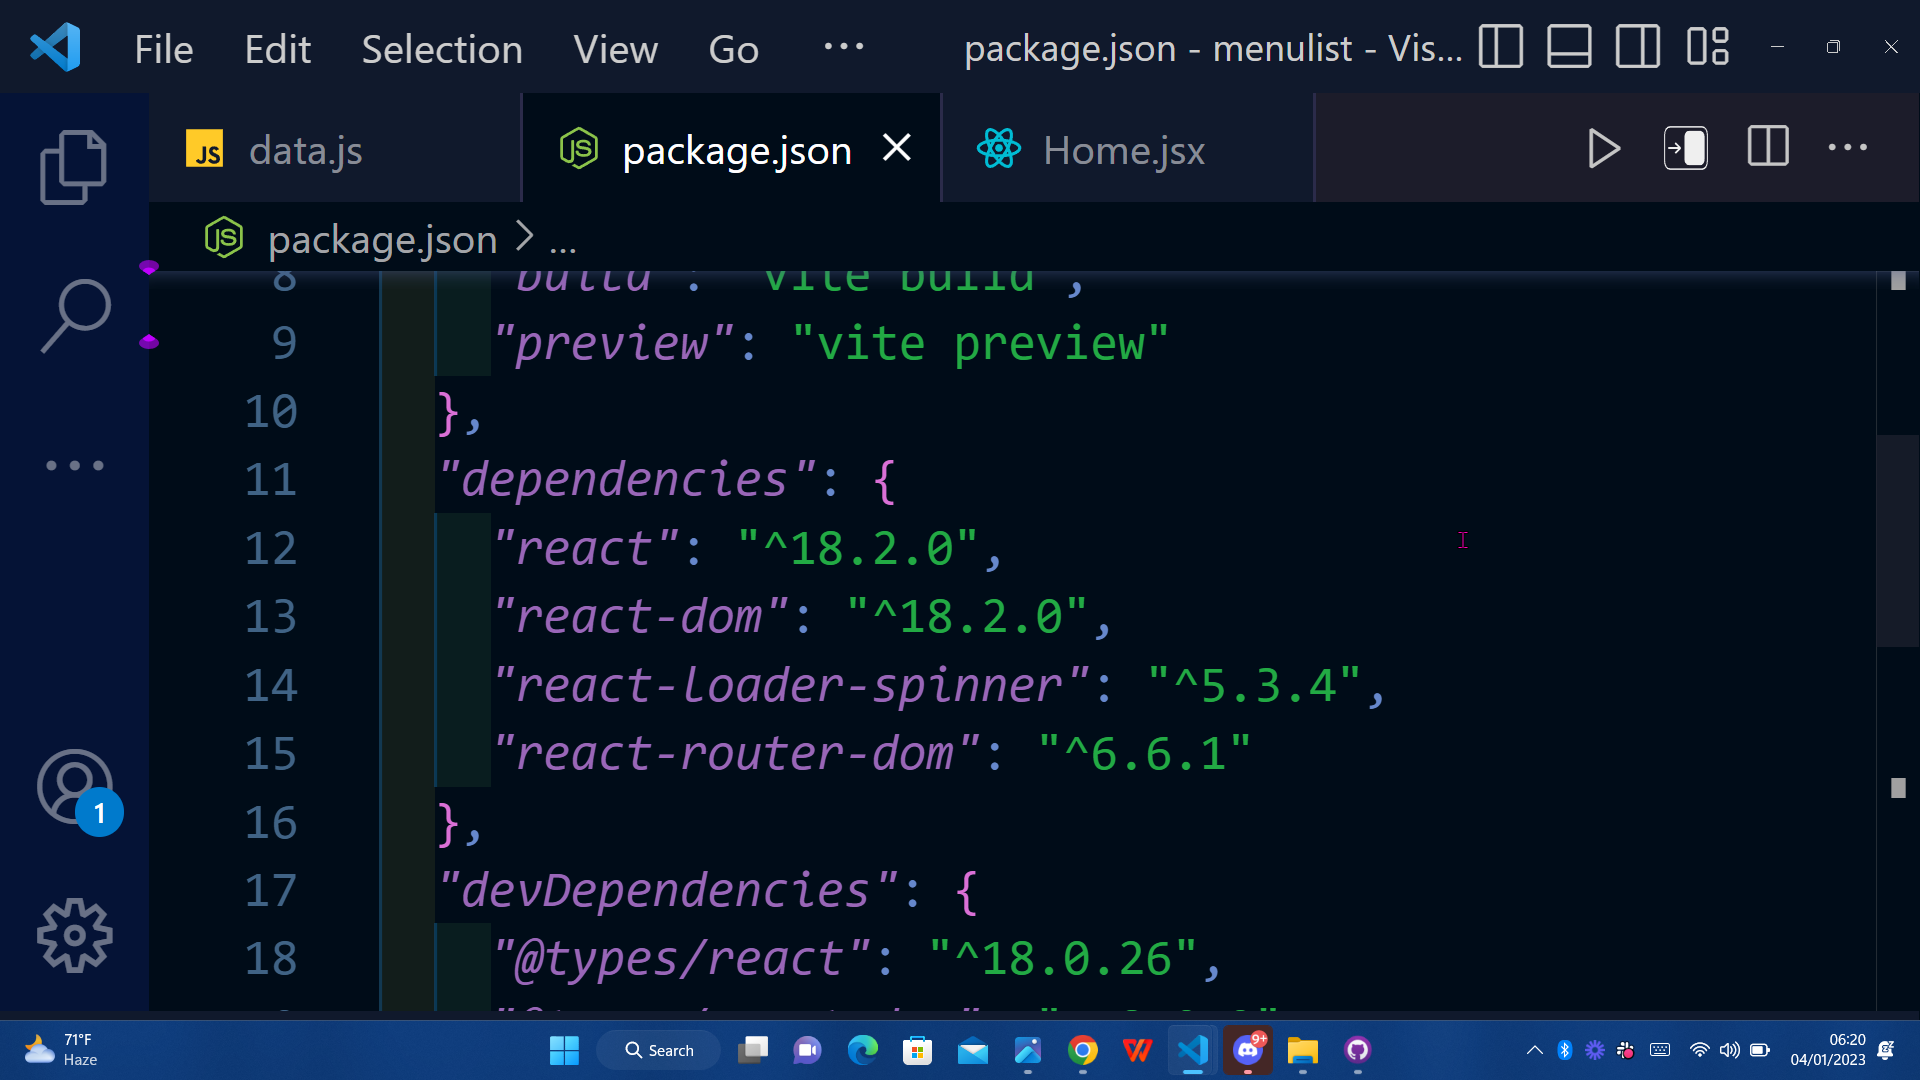
- We installed the following dependencies for this project:
npm install react-loader-spinner --save and npm install react-router-dom@6
- Start the application with these commands
npm run start or npm run dev
Using npm run start (CRA) or npm run dev (VITE) depending on which command you used to create the React application.
Now we have our local environment working let's create the project
Setting up the project
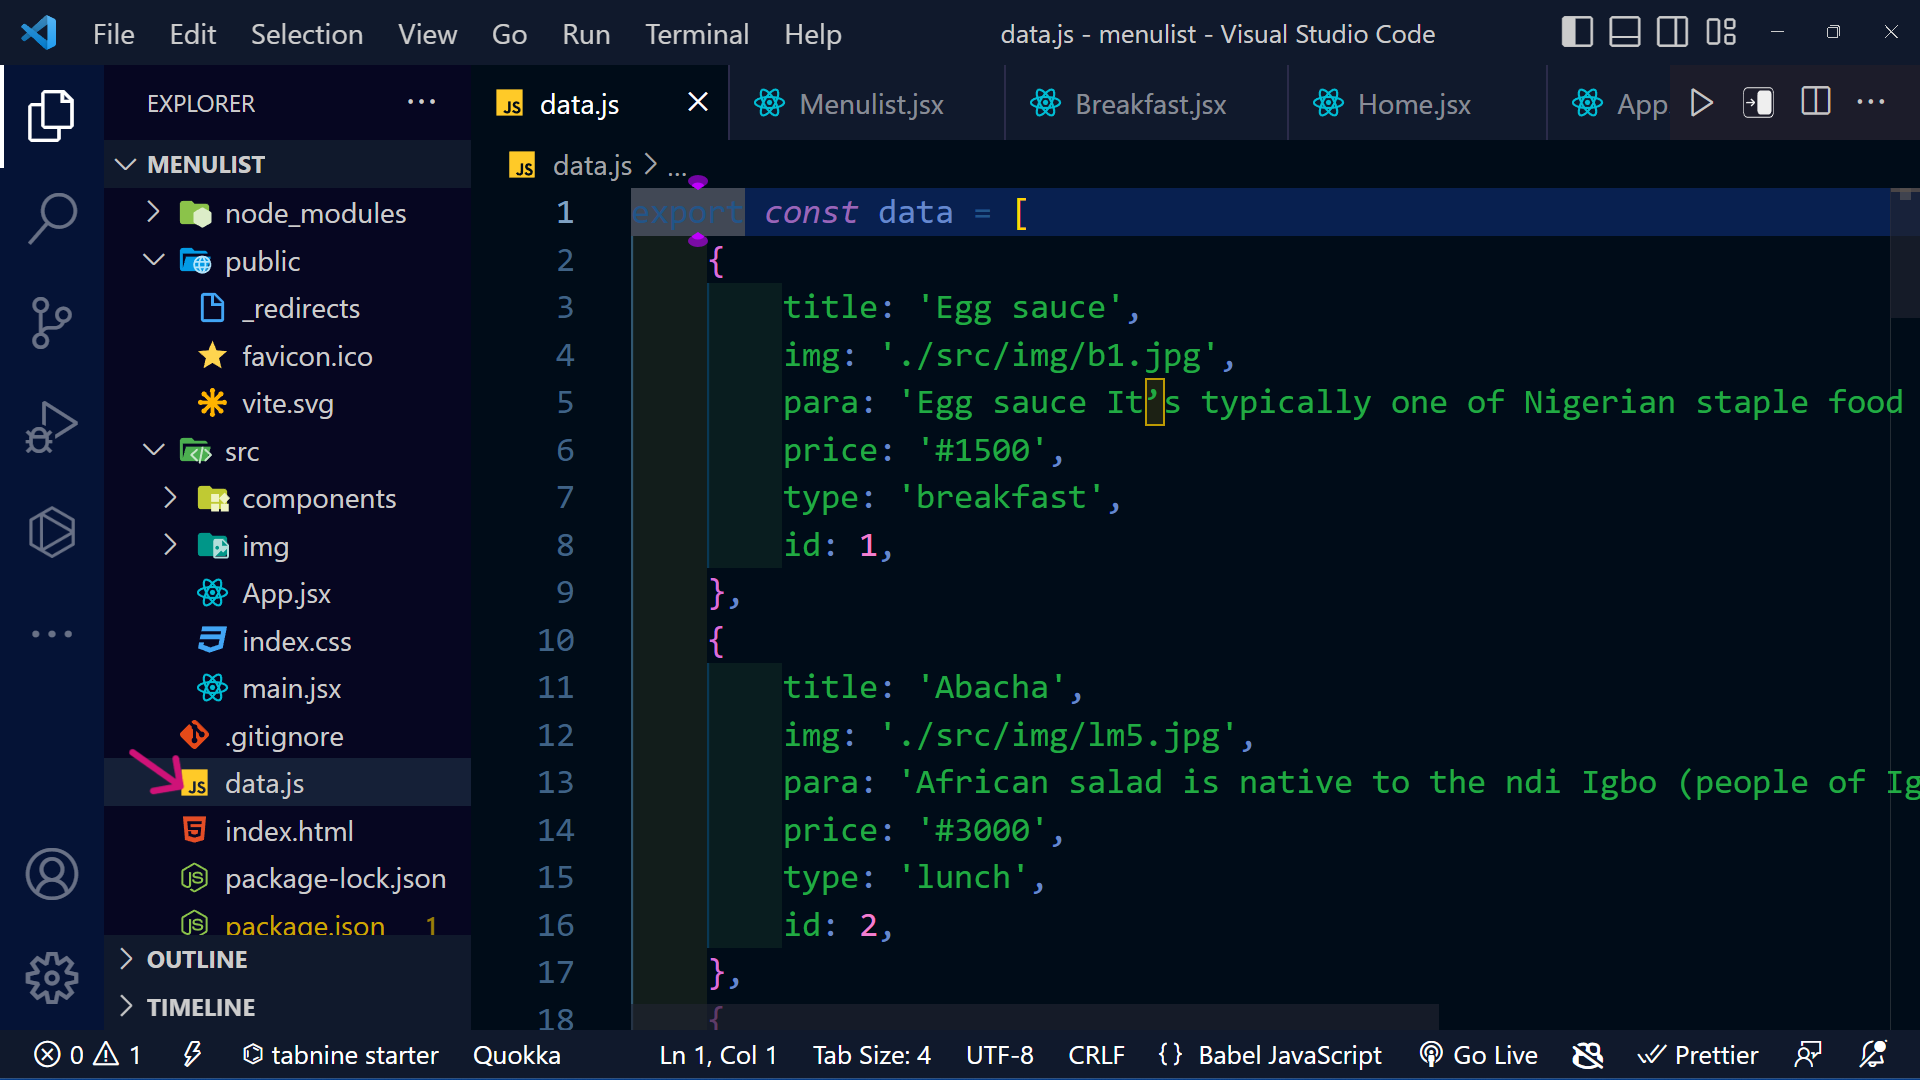
1. First, we'll create a separate file for our data. This will let us organize our code and keep related information together. It is also a useful way of refactoring your codebase.
To do this, create a new file in the root directory of your project and give it a descriptive name, such as
data.jsDefine your data in the file as an array of objects.
Example: data.js file
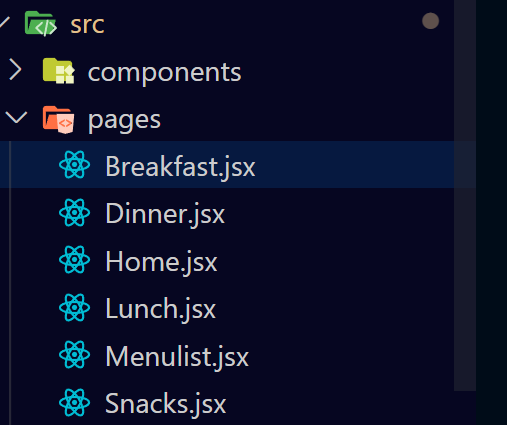
To organize your project, you can follow these steps:
Within the "src" directory, create a new folder. You may name it "pages" for better organization. Note that this step is optional, but it can help improve project structure.
Inside the create a "component" folder, create all the files you will work with.
Do the same again within the "src" directory, and create a new folder. You may name it "component" for better organization. Note that this step is optional, but it can help improve project structure.
Inside the create a "component" folder, create a file named
Header.jsx. This file will serve as the header component for your project.
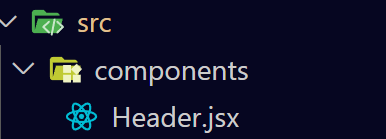
The purpose of this Header.jsx file is to create a navigation menu.
Header.jsx
import { useState } from 'react'
import { NavLink } from 'react-router-dom';
const data = [
    {
        title: 'All',
        link: '/',
    },
    {
        title: 'Breakfast',
        link: '/breakfast',
    },
    {
        title: 'Lunch',
        link: '/lunch',
    },
    {
        title: 'Dinner',
        link: '/dinner',
    },
    {
        title: 'Snacks',
        link: '/snacks',
    },
];
const Header = ({title}) => {
  const [navs] = useState(data);

  return (
    <>
      <div>
        <h1 className='h1'>{title}</h1>
      </div>
      <ul className='flex justify-center items-center gap-8'>
        {navs.map((nav, index) => (
          <li key={index} className='li'>
            <NavLink to={nav.link} className='navs'>
              {nav.title}
            </NavLink>
          </li>
        ))}
      </ul>
    </>
  );
}

export default Header;
Using the map() method, we can iterate through the menu list data and render it to the browser.
In theHeader.jsx file, we have an array of data and iterate through it using the map() method. Then pass the iterated data to the NavLink component.
2. Import the Header.jsx to the Home.jsx file.
Home.jsx
import React, { useState } from 'react'
import Header from './Header'
import { data } from '../../data'

const Home = () => {
  const [meals] = useState(data)
  return (
    <div>
      <Header title='Cr Menu💖' />
    </div>
  );
}

export default Home
To view it in the browser, you should render the Home.jsx file into the default root file App.jsx.
App.jsx
import React from 'react'
import Home from './pages/Home';


const App = () => {
  return (
    <div>
      <Home />
    </div>
  );
}

export default App
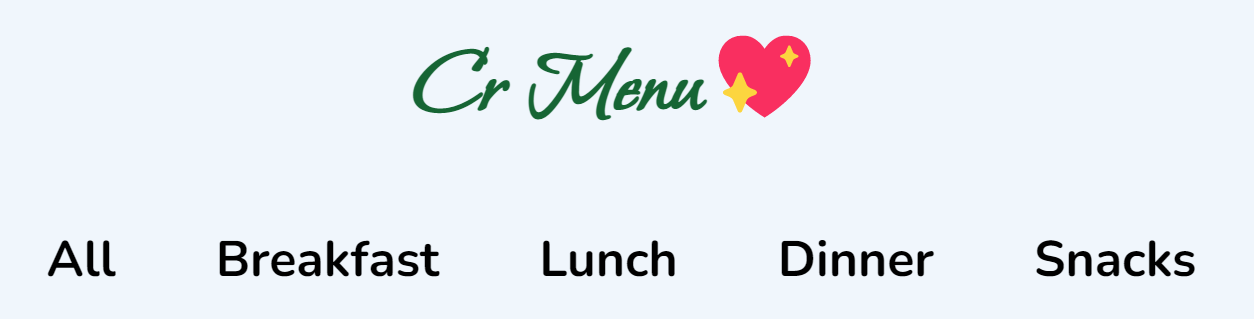
Result
To create a Menulist
3. Create a file called menulist.jsx
In this file, you need to pass the meals stored in useState() as a prop to the MenuList.jsx file. The MenuList.jsx will then use this prop to iterate over the meals.
In the MenuList.jsx file, we receive the prop and use the map() to iterate through the data.js file and retrieve each item.
const Menulist = ({meals}) => {
  return (
    <div className='meal-container'>
      {meals.map((meal) => (
        <div key={meal.id}>
          <div className="grid grid-cols-1 md:grid-cols-2 lg:grid-cols-3">
            <img src={meal.img} alt='img' className='img' />
            <div className="flex flex-col">
              <div className='title-price'>
                <h5>{meal.title}</h5>
                <small>{meal.price}</small>
              </div>
              <div>
                <small className='ml-3 w-full'>--------------------------</small>
                <p className='para-menu'>{meal.para}</p>
              </div>
            </div>
          </div>
        </div>
      ))}
    </div>
  );
}

export default Menulist
To make it look beautiful and have a layout, use CSS or your desired CSS framework.
4.Import the Menulist.jsx into Home.jsx file
import React, { useState } from 'react'
import Header from './Header'
import { data } from '../../data'
import Menulist from './Menulist'

const Home = () => {
  const [meals] = useState(data)

  return (
    <div>
      <Header title='Cr Menu💖' />
      <Menulist meals={meals} />
    </div>
  );
}

export default Home
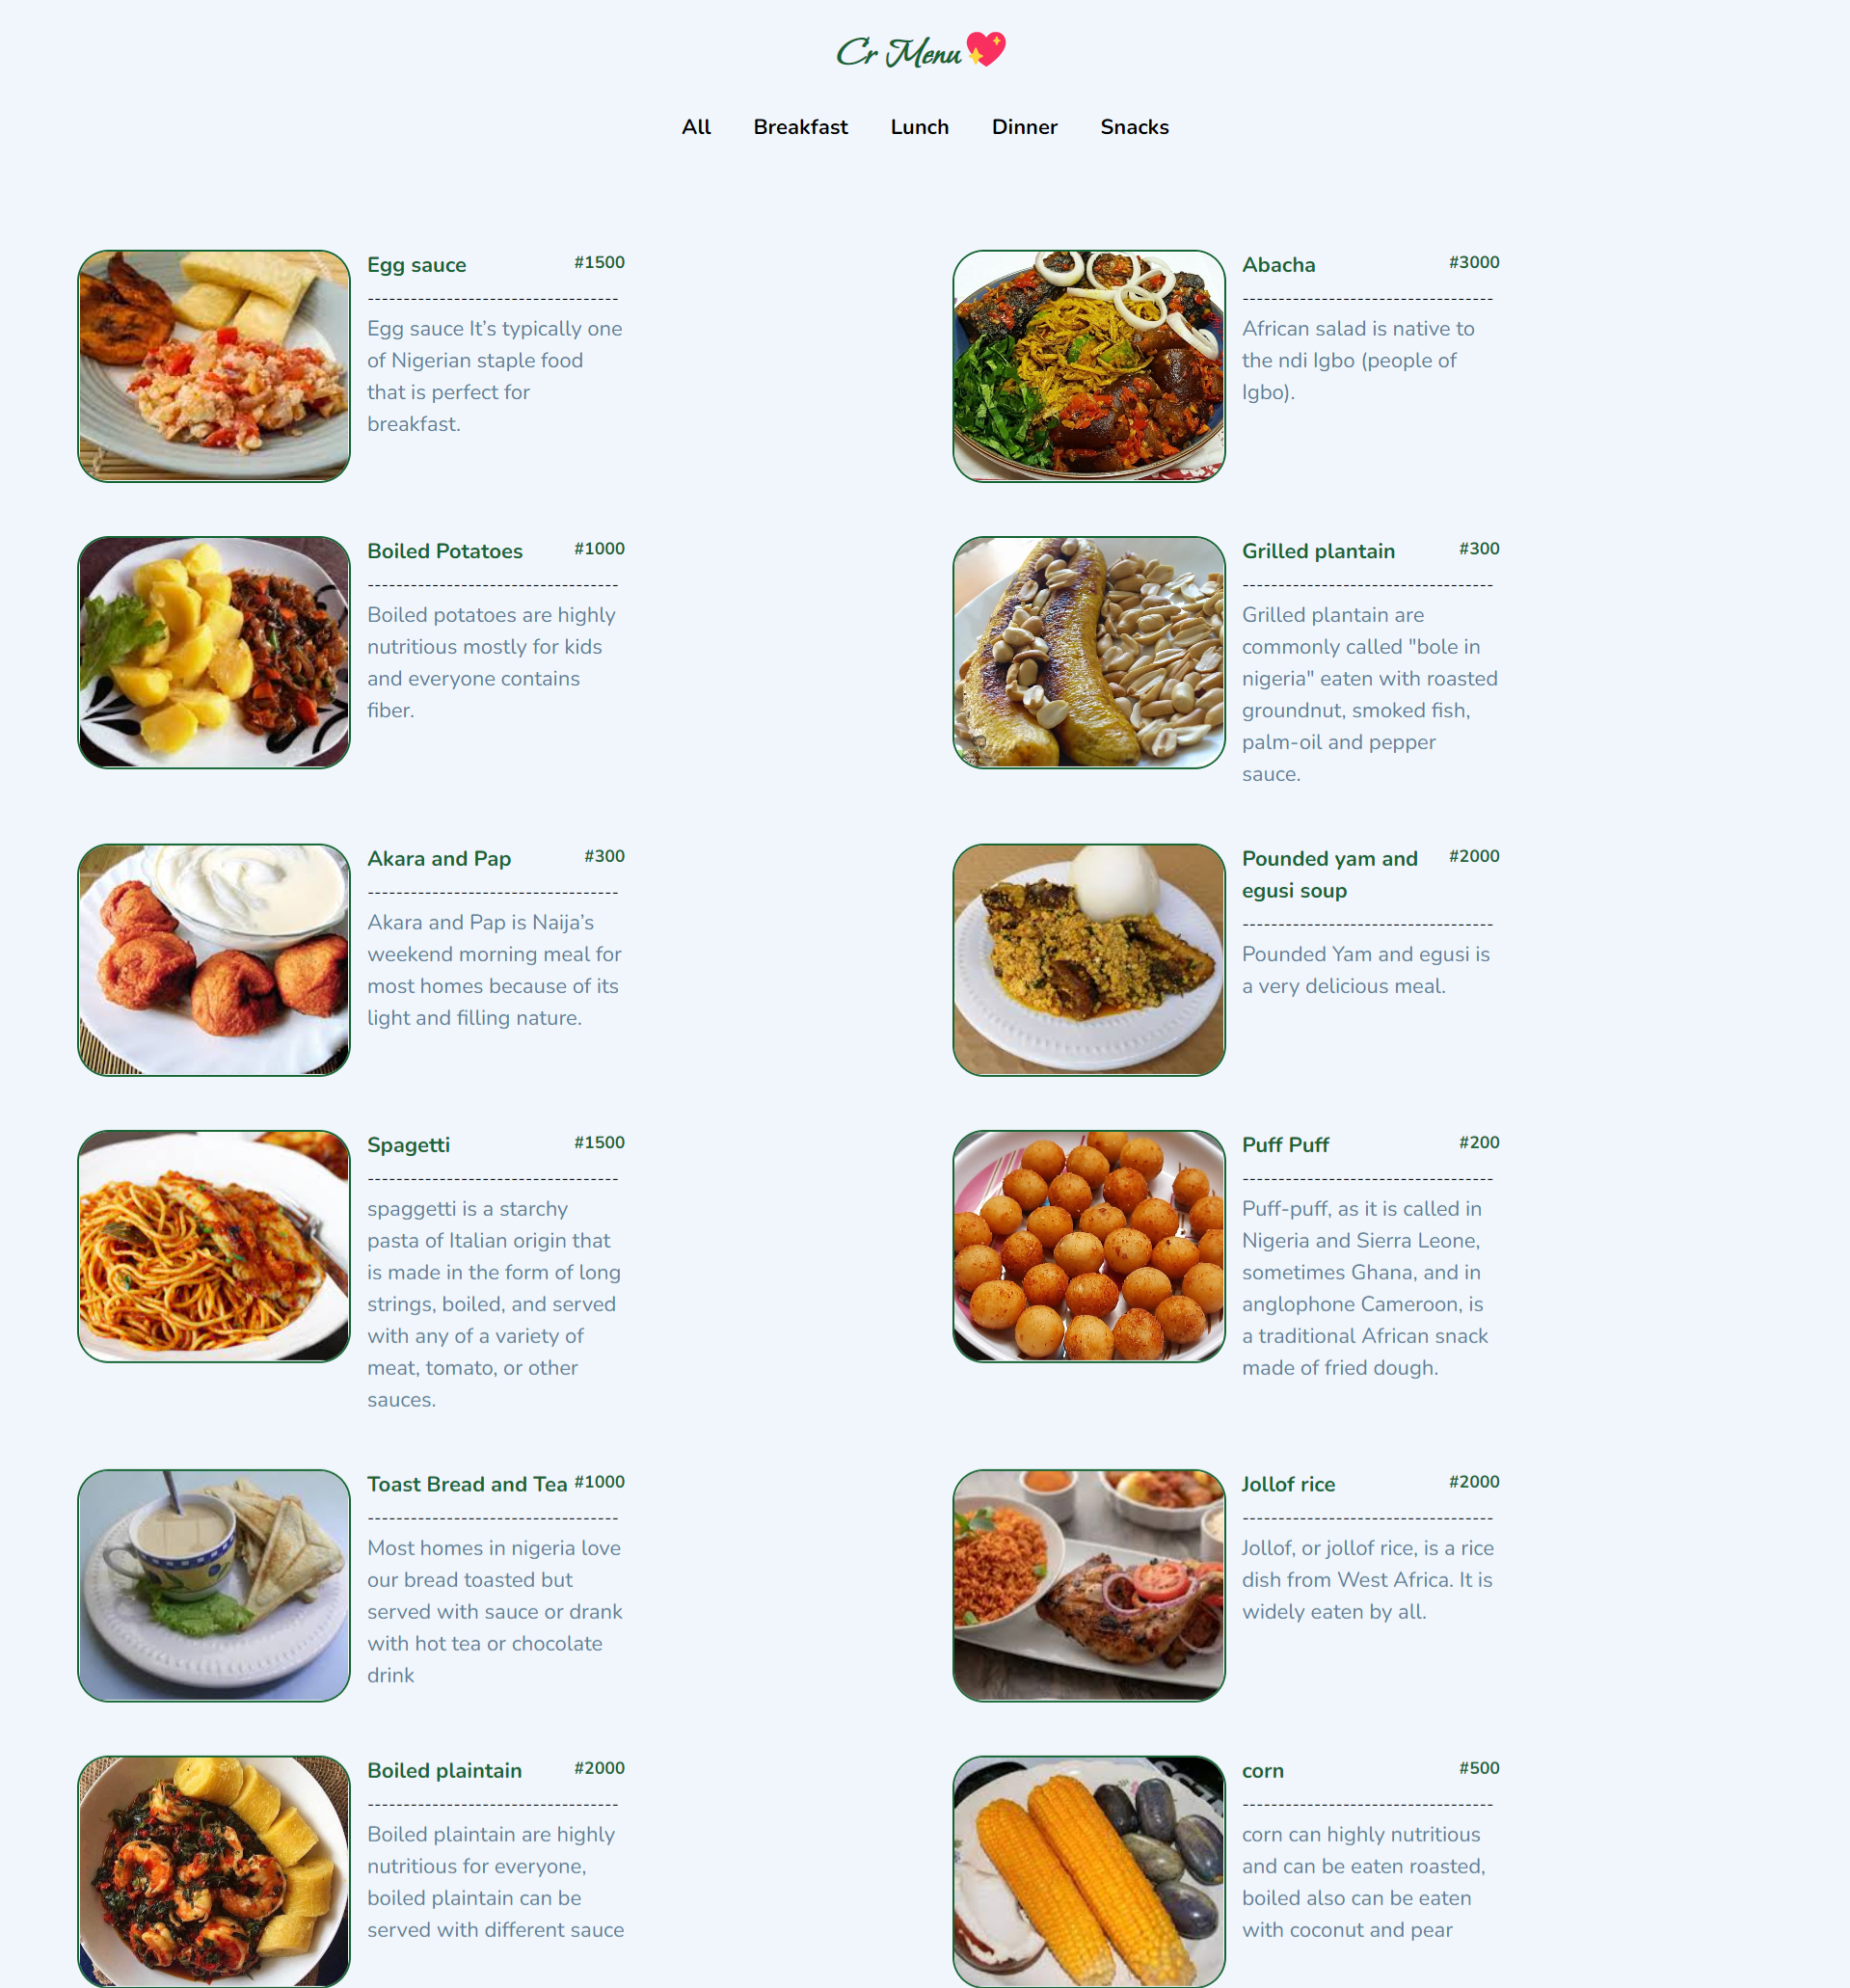
Result
To get specific meals based on the category selected
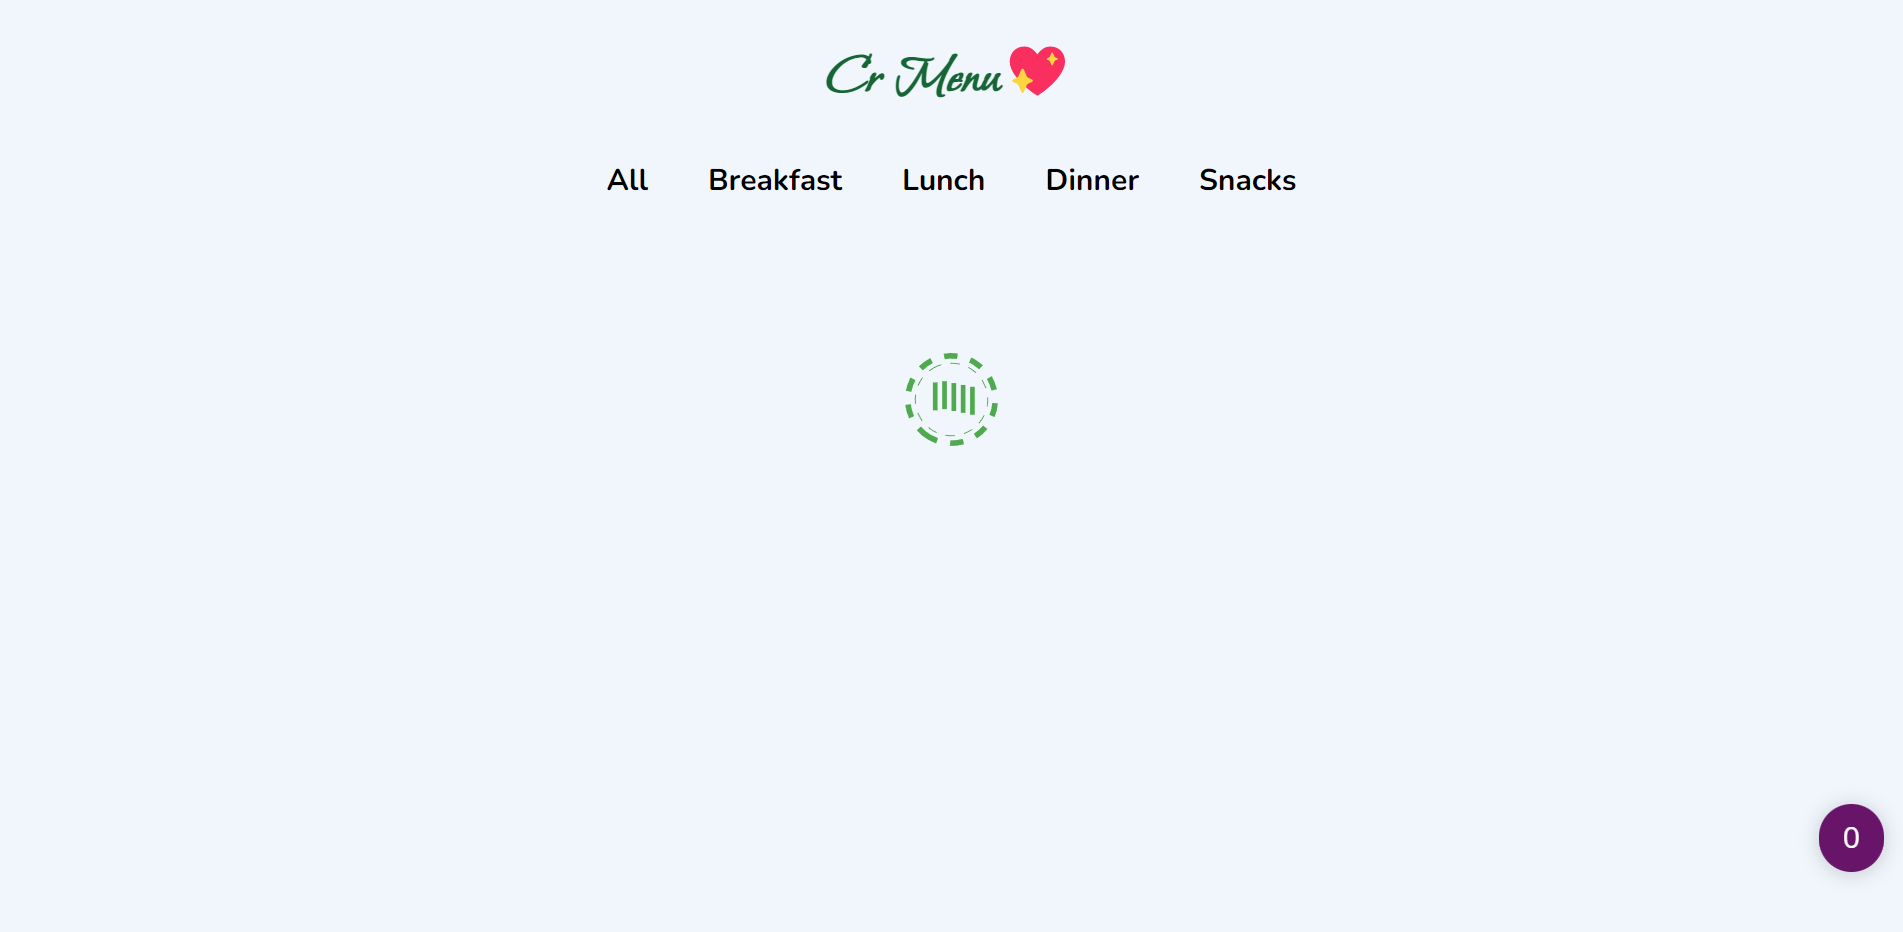
5. To access a specific menu, such as Breakfast.jsx
Import and render the
MenuListfile. In this specific file, use the filter() method on the prop passed to theMenuListfile to select and display only the menu items that match a certain criterion from the database.The filter() method will return an array of items that pass the test.
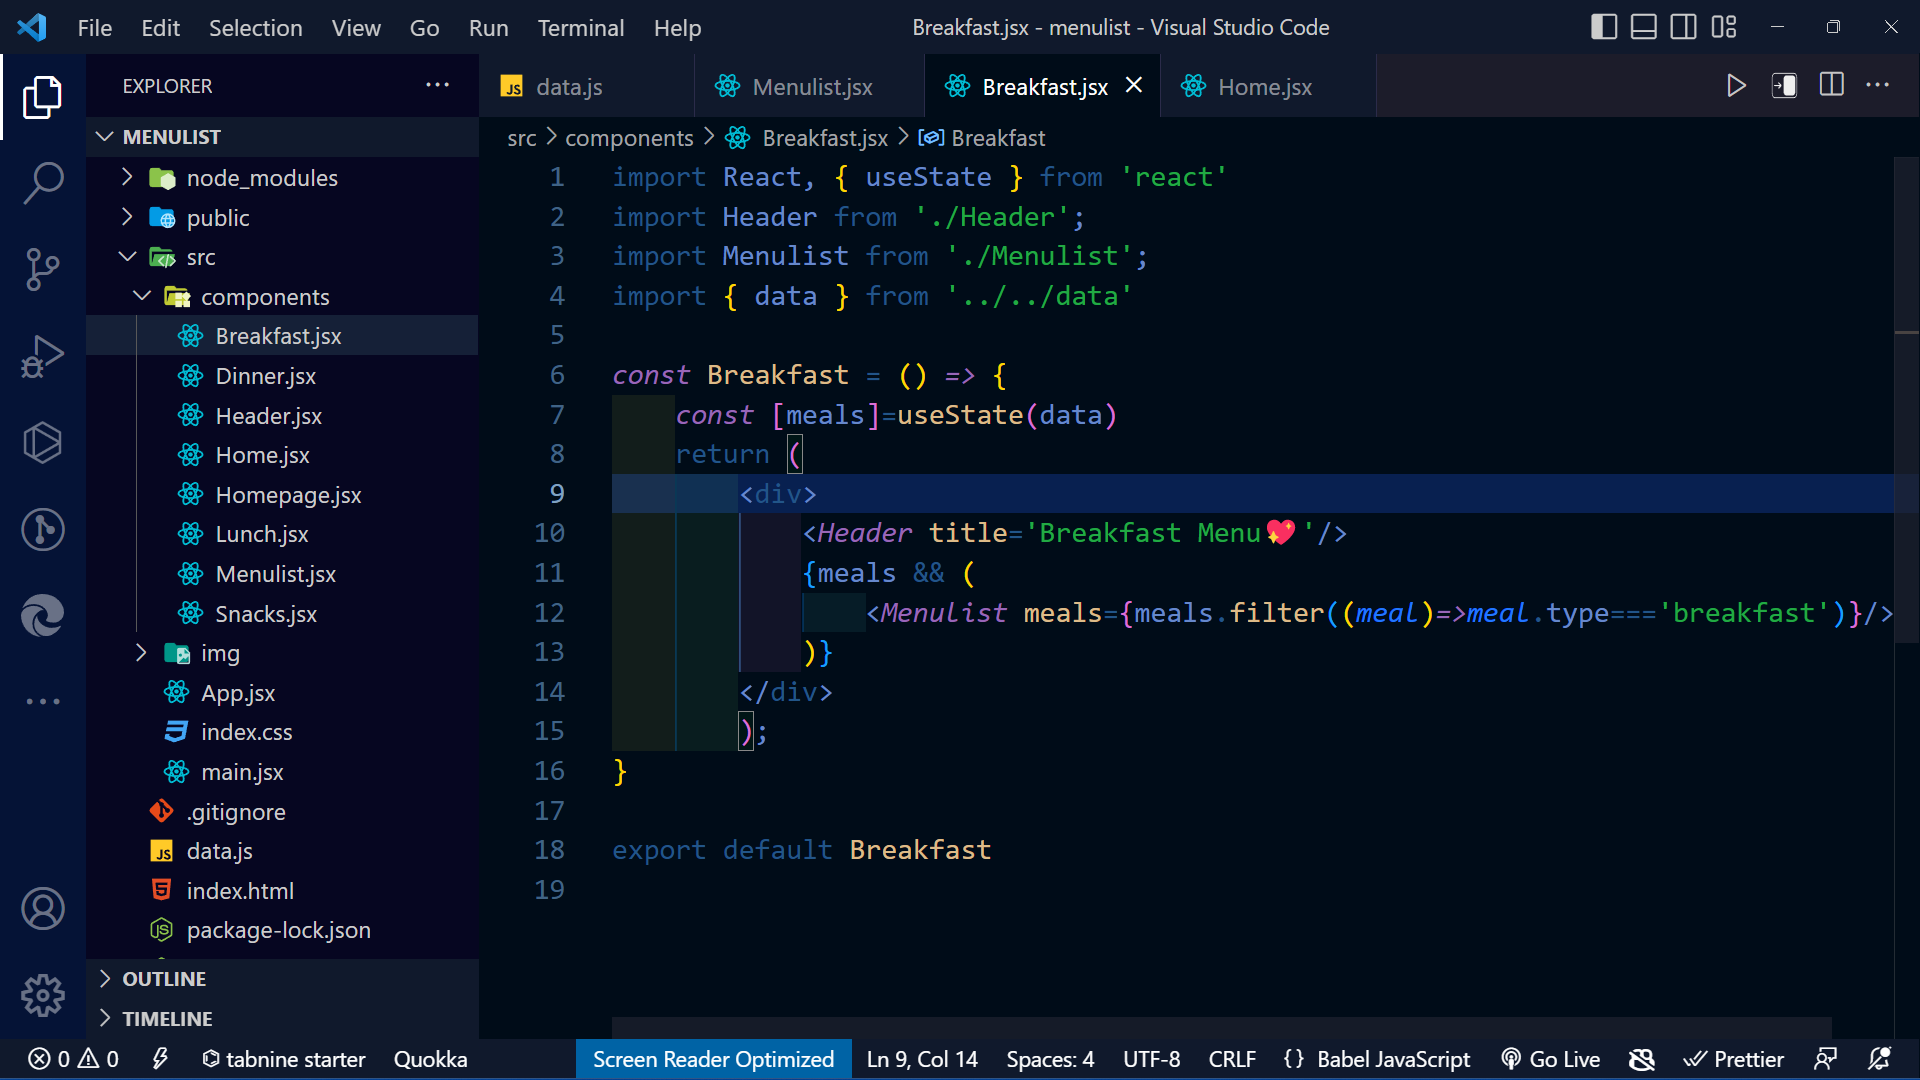
Result
We will repeat this process for the other categories, such as lunch, dinner, and snacks, in their respective files.
To make all the components display on our browser and have routing behavior.
Keep in mind that we installed react-router-dom as one of the dependencies, so we will import it into our application to assist with the navigation.
- Import BrowserRouter from the
react-router-domlibrary to ourmain.jsx or index.js(this is the main entry point of the application). This component will wrap up the entire React application.
main.jsx
import React from 'react'
import ReactDOM from 'react-dom/client'
import App from './App'
import './index.css'
import { BrowserRouter } from 'react-router-dom'

ReactDOM.createRoot(document.getElementById('root')).render(
  <BrowserRouter>
    <App />
  </BrowserRouter>,
)
- In the
App.jsximport Routes, and Route from react-router-dom library
App.jsx
import{Routes, Route}from 'react-router-dom'
import Breakfast from './pages/Breakfast';
import Dinner from './pages/Dinner';
import Home from './pages/Home';
import Lunch from './pages/Lunch';
import Snacks from './pages/Snacks';

const App = () => {
    return (
        <div className="max-w-7xl mx-auto">
            <Routes>
                <Route path='/' element={<Home />}></Route>
                <Route path='/breakfast' element={<Breakfast />}></Route>
                <Route path='/lunch' element={<Lunch />}></Route>
                <Route path='/dinner' element={<Dinner />}></Route>
                <Route path='/snacks' element={<Snacks />}></Route>
            </Routes>
        </div>
    );
}

export default App
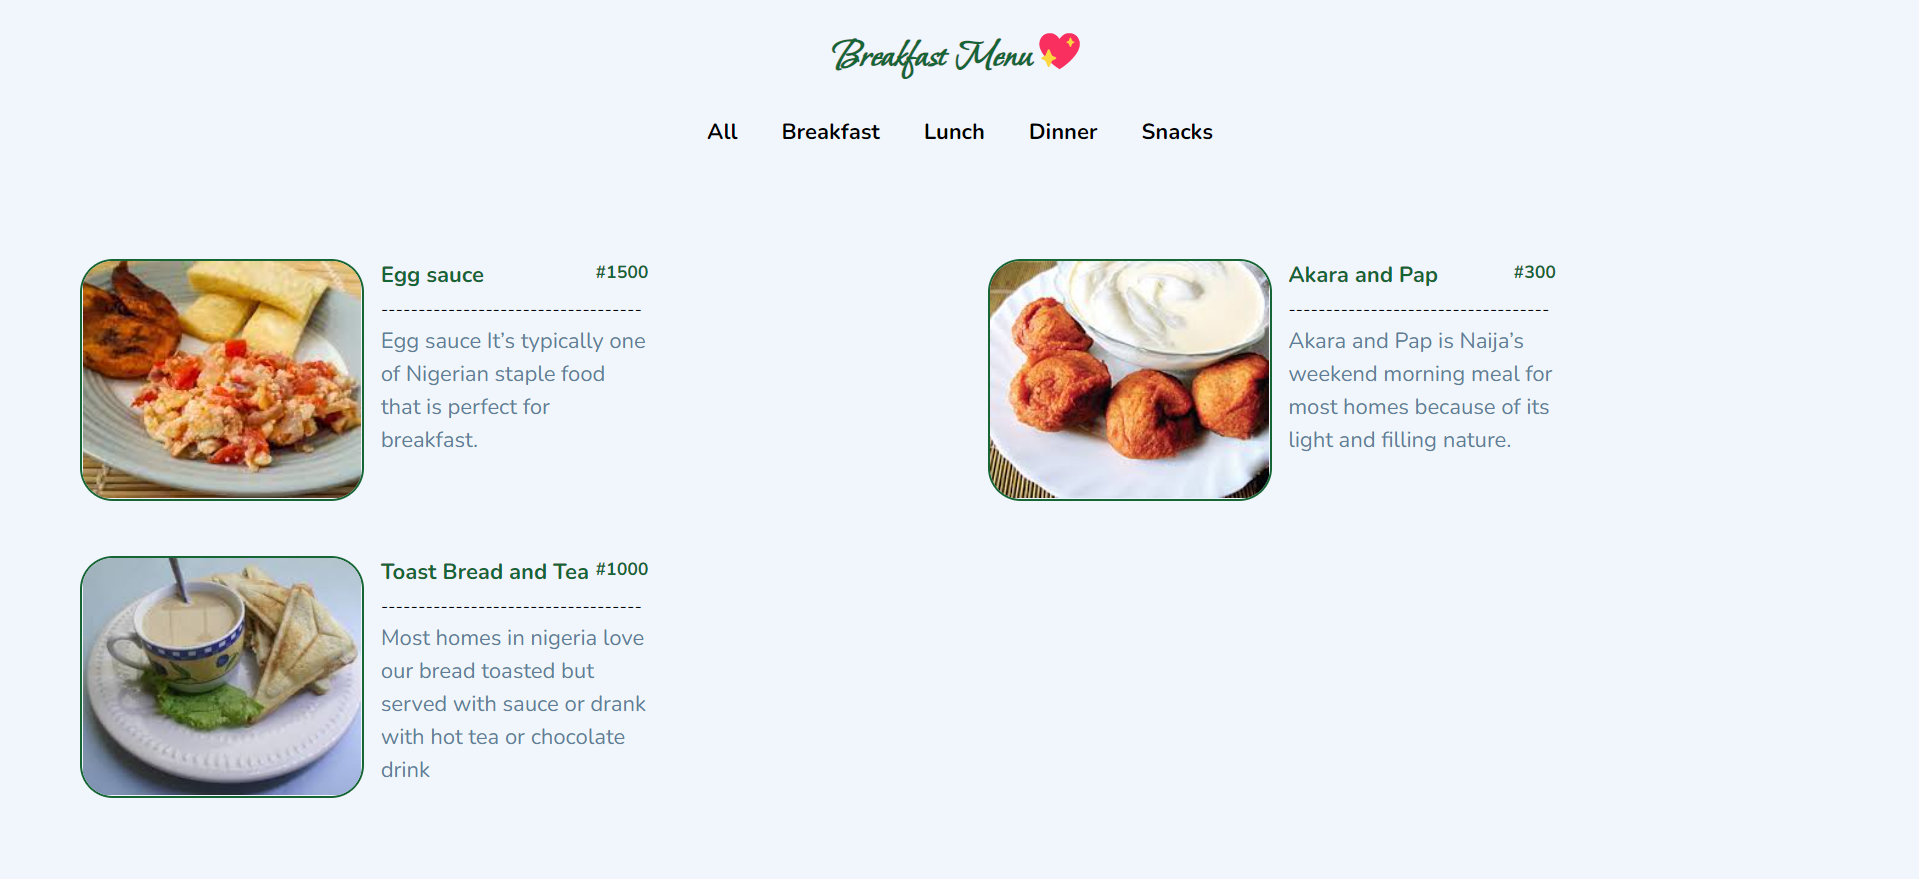
Loading Aspect
6. This project includes the react-loader-spinner package as one of its dependencies:
To use it
Make sure to install react-loader-spinner.
Import it into the
Home.jsxfile, which we will use for this project.
A video demonstrates how to use it.
In the Home.jsx file, set the useState() hook to true, and use setTimeout() to change it to false after a certain amount of time. This action will make the loading spinner disappear and display the MenuList component.
import React, { useState } from 'react'
import Header from './Header'
import { data } from '../../data'
import Menulist from './Menulist'
import { CirclesWithBar } from 'react-loader-spinner'

const Home = () => {
    const [meals] = useState(data)
    const [loading, setLoading] = useState(true)
    setTimeout(() => {
        if (loading) {
            setLoading(false);
        }
    }, 700);

    return (
        <div>
            <Header title='Cr Menu💖' />
            {loading && (
                <div className='flex items-center justify-center'>
                    <CirclesWithBar
                        height='50'
                        width='50'
                        color='#4fa94d'
                        wrapperStyle={{}}
                        wrapperClass=''
                        visible={true}
                        outerCircleColor=''
                        innerCircleColor=''
                        barColor=''
                        ariaLabel='circles-with-bar-loading'
                    />
                </div>
            )}
            {!loading && <Menulist meals={meals} />}
        </div>
    );
}

export default Home
Result
Final Result
Conclusion
React.js is a powerful and versatile framework for creating stunning menus on your web pages. With its capabilities, you can design captivating and functional menus that leave a lasting impression. In particular, for businesses like restaurants, menus serve as essential communication tools, providing customers with valuable information about the variety of dishes and beverages available. By leveraging React.js, you can elevate the menu experience, enabling customers to make informed choices and enhancing the success of your business.
I hope you found this tutorial helpful and that you have learned something about using React.js to create a menu.
You can find the source code in my Repository.
Thanks for reading💖


